

By Wendy Blair, Expert Gardener, Instagram: @505garden
There are many methods for testing soil. Soil tests can tell you things like soil acidity, the percentage of organic matter in your soil, and soil texture. Some soil tests involve buying a kit, while others require sending samples to a lab. However, if you are looking for a basic test you can do with materials you most likely have in your home; then the mason jar test is for you!
The mason jar test is a simple way to determine the structure of your soil. Your soil is a mass of water, air, inorganic minerals and organic matter. The size, form and amount of those particles make up your basic soil structure. Knowing the structure of your garden soil can help you understand how much to water your plants and what amendments to add for maximum garden performance.
Materials Needed
• Soil samples from around your yard (soil can vary even in a small yard). I took a sample of native soil in an area of my yard I’m not growing in. I also took a sample of soil in a bed I’ve been amending with compost for quite a few years.

• One quart canning jar per soil sample
• Masking tape & pen
• Ruler
• Colander for sifting
Procedure
1. Fill mason jar approximately half full of loose soil (sift if necessary to remove rocks and dirt clods). When collecting your soil make sure to dig down at least 6” to get a representative sample. Don’t just scrape the surface.

(Soil samples left to right: amended soil, native soil)
2. Fill jars with water to within a ½ from the top of the jar. Secure the lid tightly and shake the jar vigorously until the mixture is incorporated. This can take a few minutes or more.
3. Set the jar on a flat surface to rest for at least 24 hours.
Reading your mason jar test results
Your mason jar test results will be easy to decipher. The heaviest materials will fall to the bottom of the jar while the lighter particles will be on the top of the soil level. Organic materials will float to the top and suspend in the water (making for cloudy, rather than a clear water layer).

There are three main inorganic soil components: clay, silt and sand.
Clay particles are the smallest mineral component of soil. They feel sticky when wet and you can’t see individual particles with the naked eye. Clay soil contains important nutrients and stores water well. However, heavy clay soils tend to compact easily and prevent water drainage. This can harm plant roots by keeping them waterlogged.
Silt is the medium sized component of soil. It’s generally rock or other inorganic particles. It feels like flour when dry. It will also hold nutrients and water well but will drain better than clay soil.
Sand makes up the largest and coarsest mineral particles of soil. Sand allows for larger spaces between the particles and therefore lends to faster water drainage. Nutrients drain faster too so if your soil is sandy, you will need to fertilize and water your plants more frequently.
The combination of these components is called loam and is considered the ideal garden soil. Learning how far or close you are from loamy soil will help you determine what you may need to add to your soil.
Determine the amount of sand, silt and clay.
You can use your ruler to get precise measurements of the layers of sand, silt and clay to determine percentages, or you can estimate by looking at your layers.

I took a rough estimate by using the mm edge of my ruler. My lighter (native soil) jar was apx 9mm full of soil. The clay layer was 2 mm high representing 22% of the total soil (2mm divided by 9mm total giving me 22%). The silt layer was 3mm (33%) and the sand layer was 4mm (44%).
My darker (amended soil) jar was 33% clay, 22% silt and 44% sand. Remember that soil texture can vary greatly in different areas of your yard. I live on an acre in a very rocky, high desert environment.

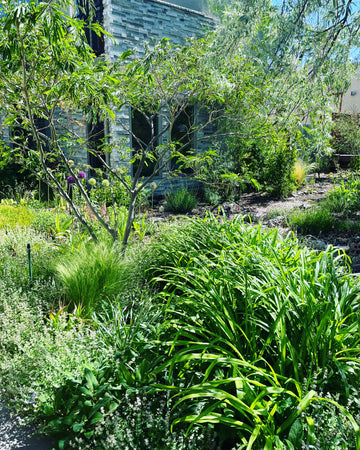
(Soil which has been regularly amended with compost)
What do these percentages mean?
You can use the USDA soil texture calculator to determine your soil classification.

(USDA soil structure pyramid)
In my examples, the native soil at 22% clay, 33% silt and 44% sand would be considered in the loam range which is a great texture! However, it is void of life indicated by the light color and lack of organic materials (nothing floating at the top). My amended soil at 33% clay, 22% silt and 44% sand is considered clay loam. This is also decent to work with. It is darker in color and has a lot more organic material in it as indicated by the color of the water and particles floating at the top.
What did my results tell me?
These tests told me that the overall structure of my soil is good. I am in the “loam” range on the USDA soil structure pyramid. Loamy soil is considered the ideal soil structure because it holds plenty of moisture but also drains well so air can reach plant roots.
If I had a higher percentage of clay soil, I might want to add a little sand as well as compost to my soil. I could do this by adding those two items to my planting holes whenever I planted a new tree or shrub. If I had sandy soil, I would know I would need to water my plants more frequently. I would also definitely want to add compost to my soil so it was able to better retain water. Top dressing existing beds with compost also helps add organic matter to the soil which improves the soil’s overall health and water retention/drainage properties.
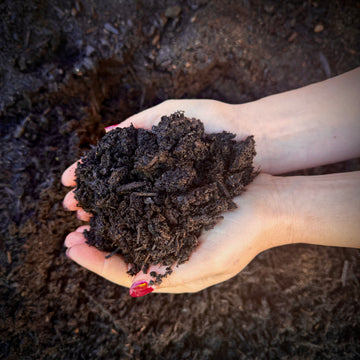
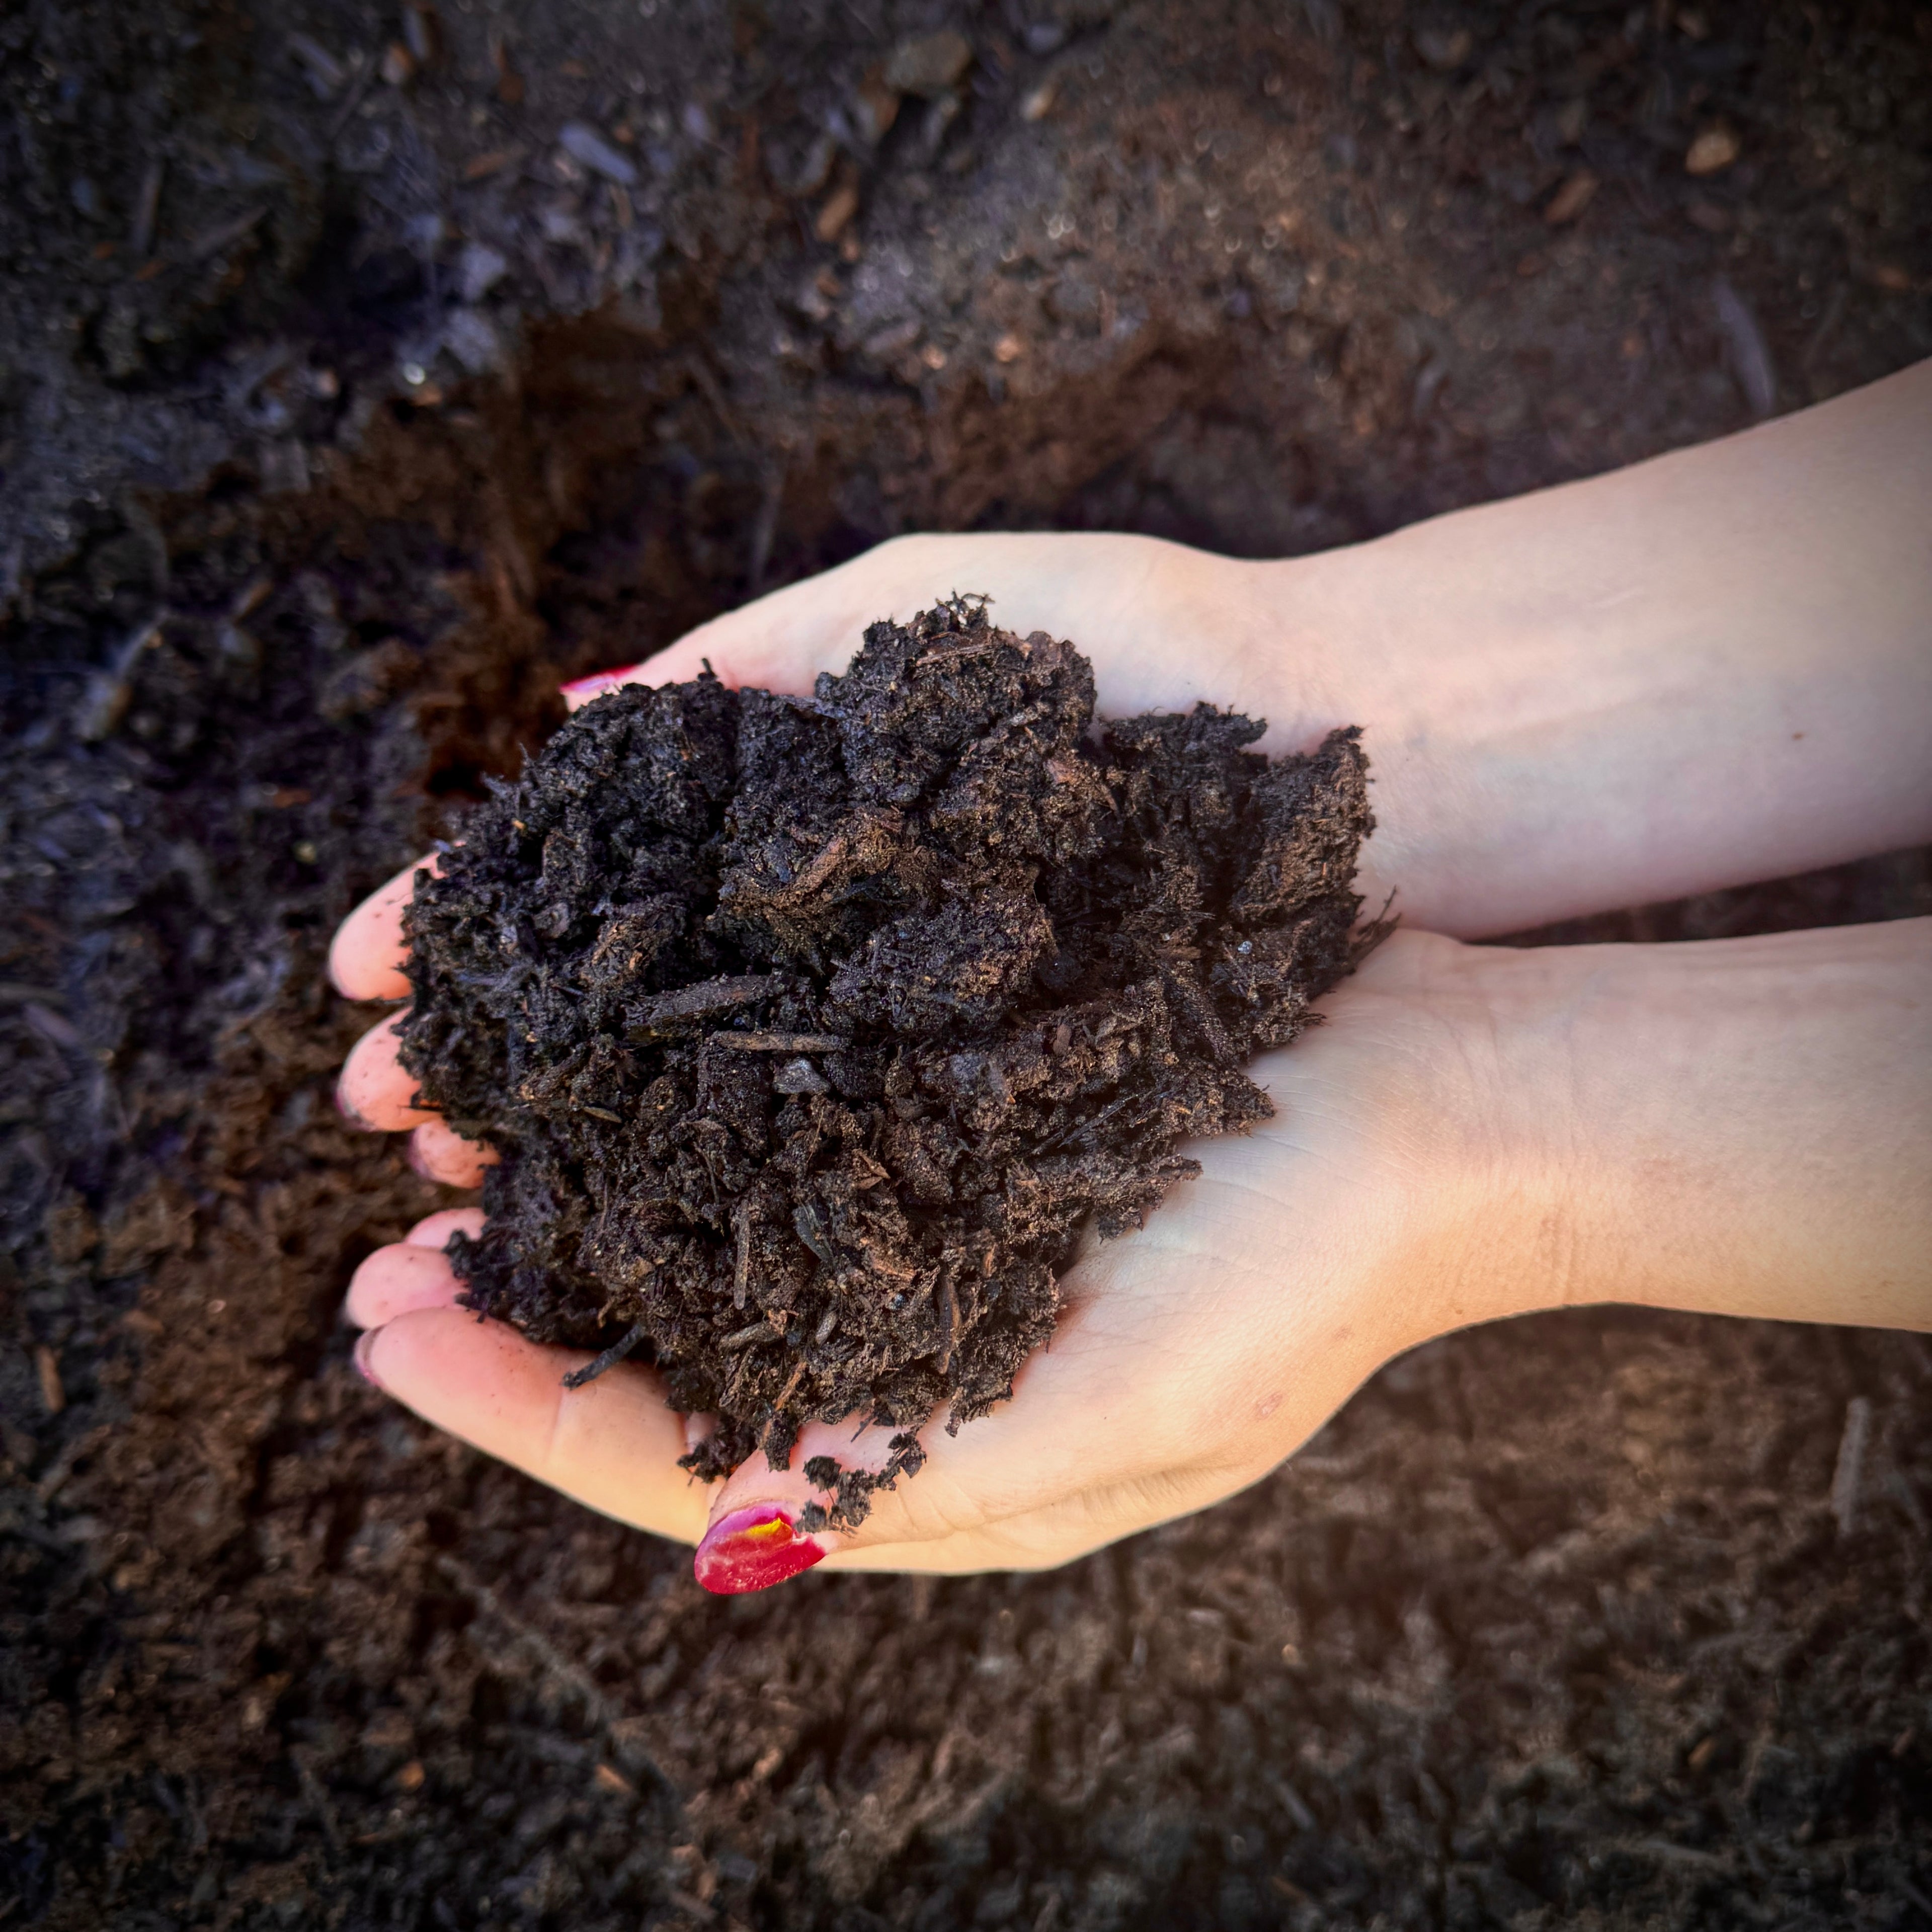
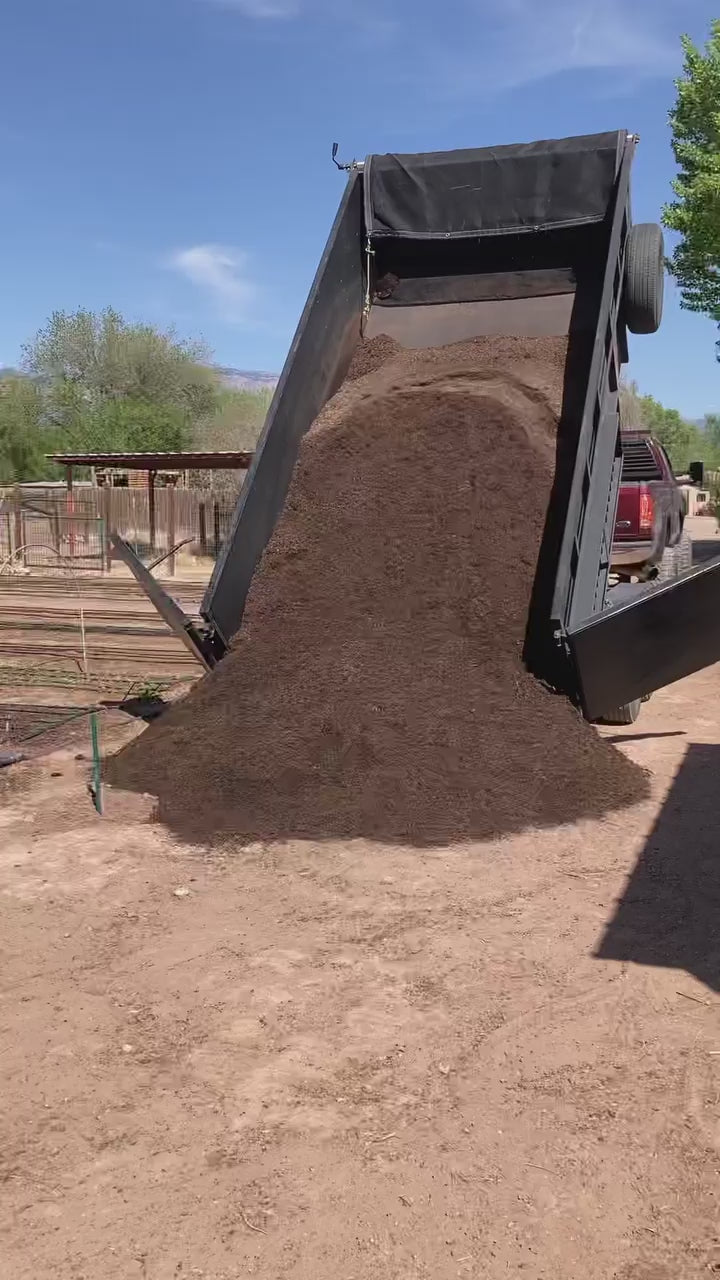
Generally, whichever type of soil structure you have, adding compost is always a good idea. Compost is dead organic matter which helps improve not only soil structure, but microbial life in your soil. This life supports earthworms, overall soil health and plant root development.
When is the best time to amend your soil with compost?
The best time to add compost to your soil is in the fall or winter. Winter gives time for soil microbial life to break down the organic matter in compost making it available to plants when they wake up in the spring. However, in our climate where the ground rarely freezes, you can amend nearly year-round.
Therefore, if you didn’t add compost in the fall, you can still do so over the winter or spring.