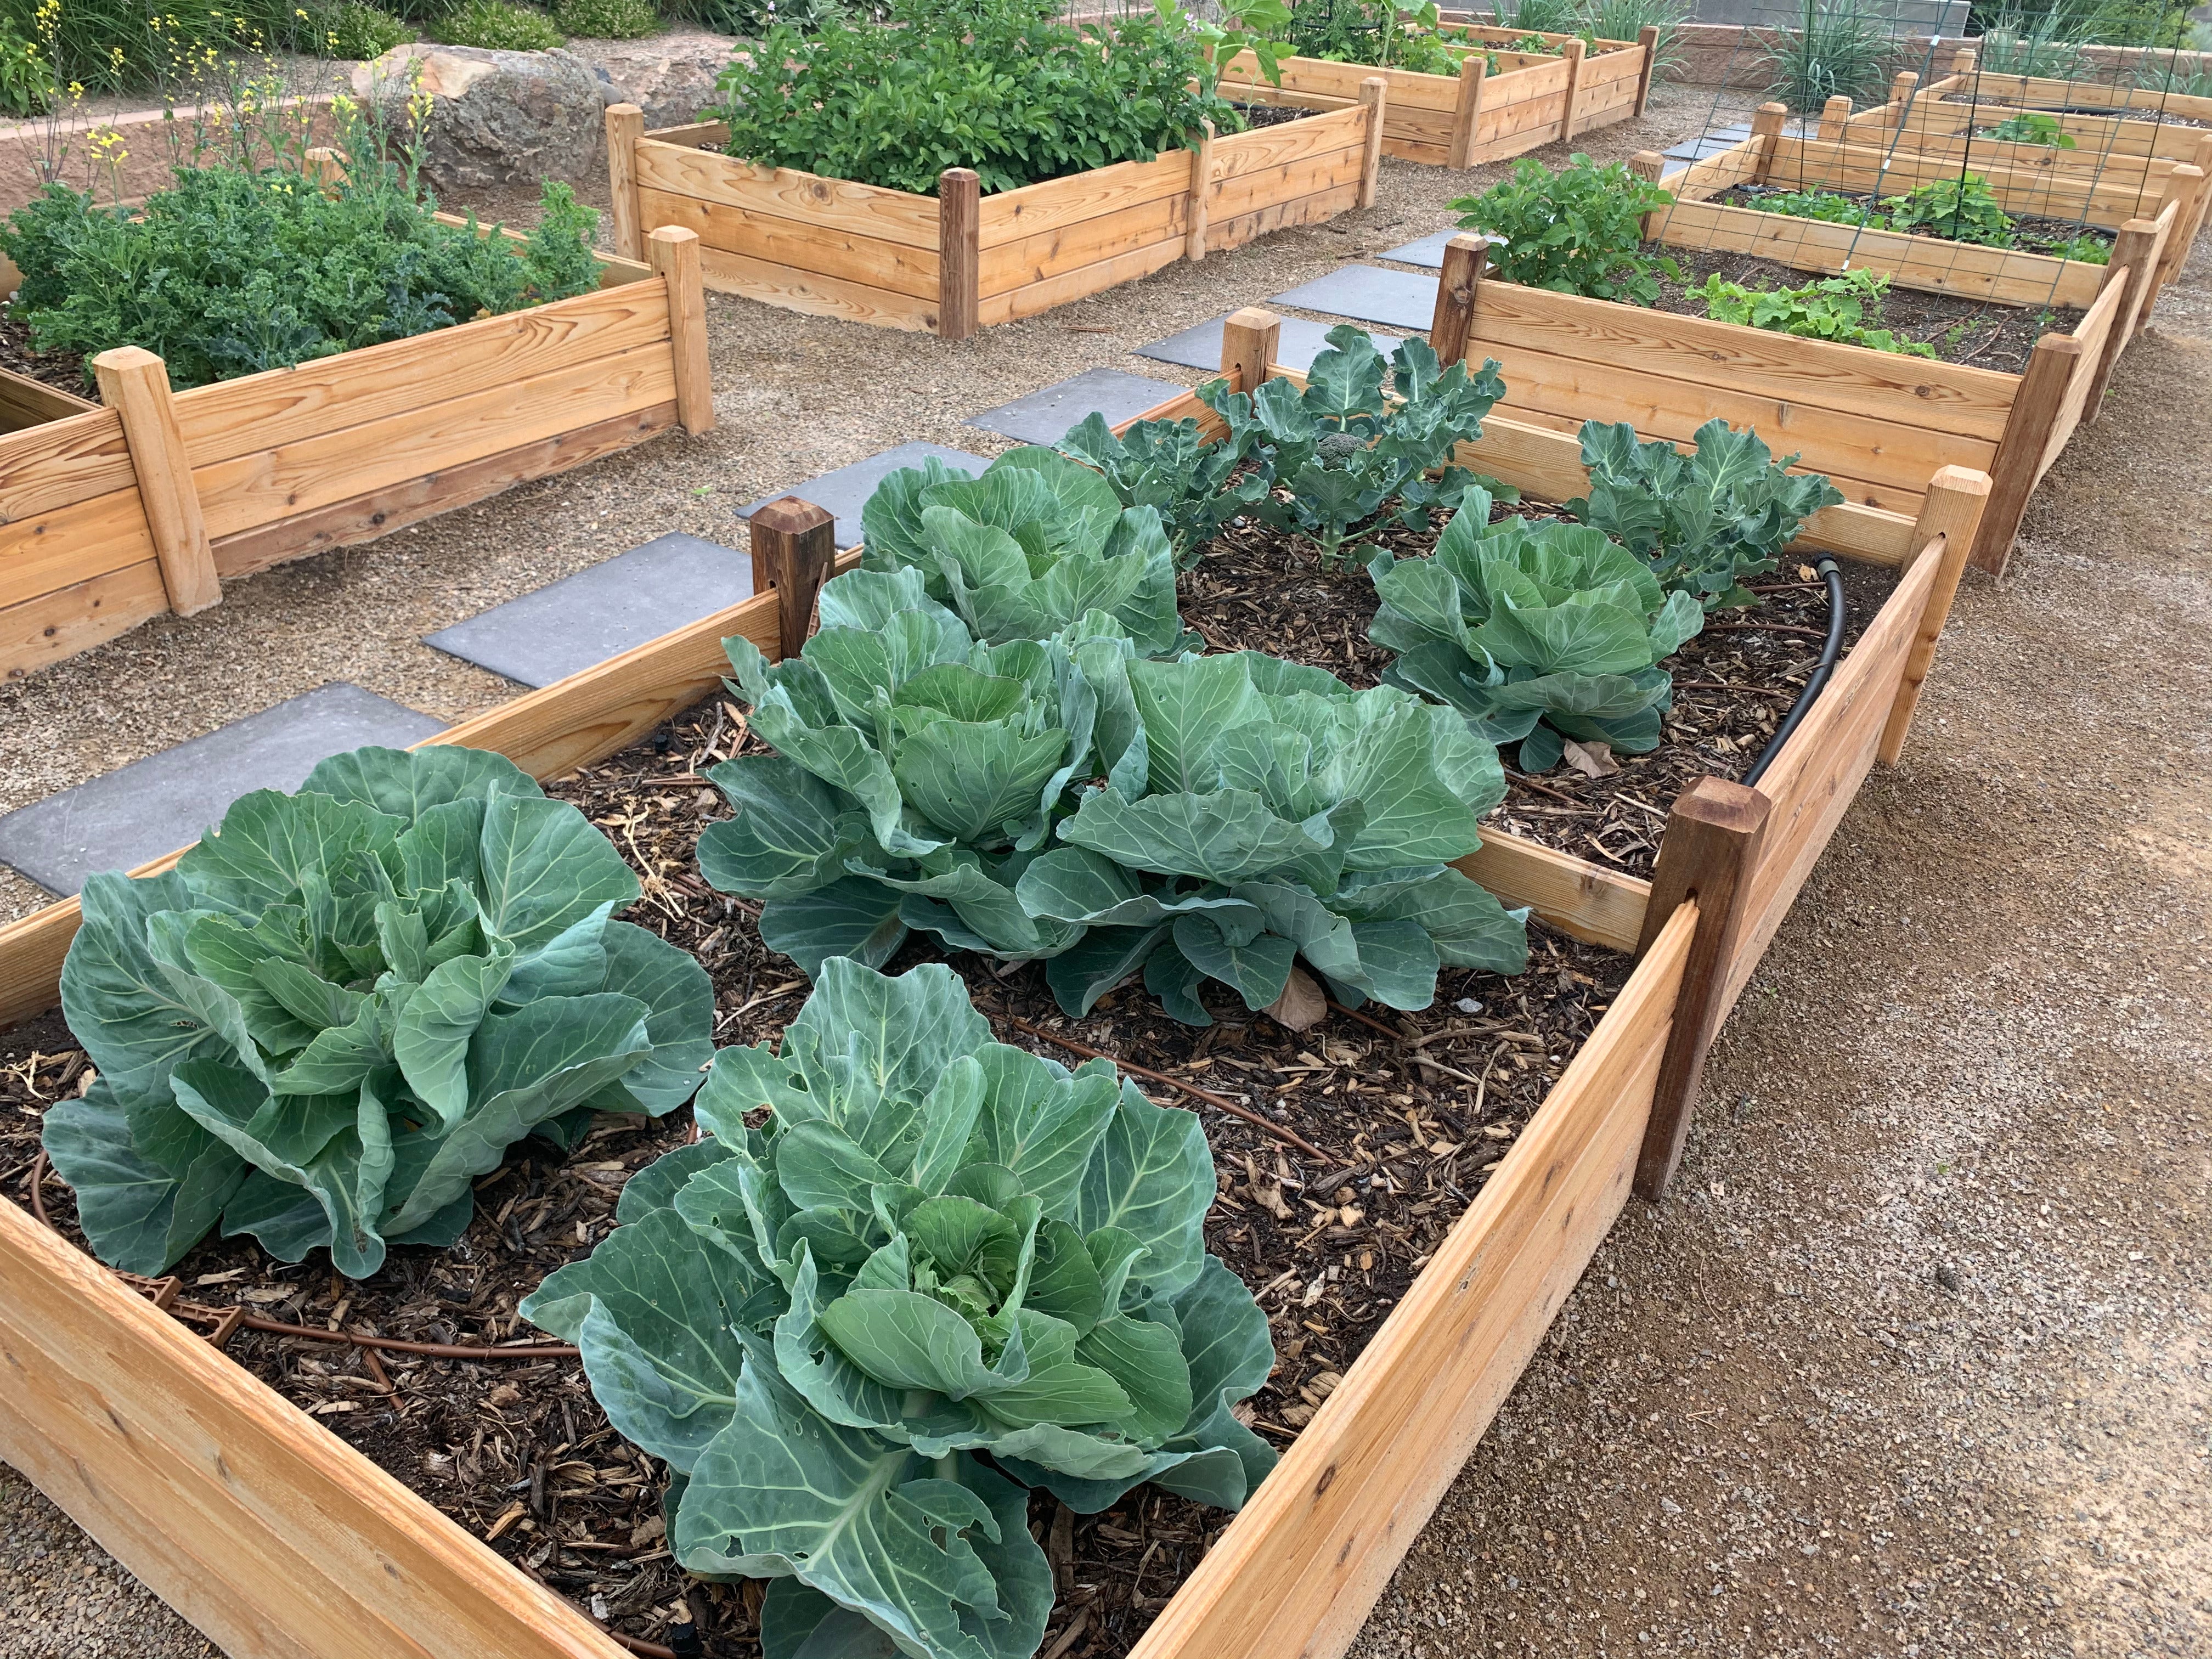


Raised bed gardening is a beautiful way to create a garden in nearly any outdoor space with sufficient sunlight.
Step 1: Choose your raised beds. You can find raised beds at hardware stores, online or build one yourself! We recommend a minimum depth of 16" of soil to ensure your plants have enough room to spread their roots.
Step 2: Find an area that has sufficient sunlight for the type of plants you would like to grow. If you are growing vegetables and flowers, you'll want an area with at least 8 hours of sun. Most plant packages and labels will provide guidance on how much sun your plant needs to flourish. You can verify sunlight in your chosen area by observation throughout the day or by purchasing a Sunlight Meter.
Step 3: After you place your beds in the chosen area, fill them with at least 16” depth of soil. This will ensure your plants have enough room for proper rooting depth. Depending on the depth of your beds, consider adding a layer of sticks, pinecones, or even cardboard on the bottom layer of your raised bed to improve drainage and reduce the amount of soil needed for your bed. The ideal time to prepare your raised bed is mid-February through mid-April, to be ready to plant by early May.
- SOILUTIONS RECOMMENDS: Our Premium Garden Soil is our recommendation for your raised beds as they include the essential nutrients and microbes to provide a growing environment for your plants to flourish.
Step 4: Water the soil for a minimum of 3 days before planting to prime the soil. The soil is disrupted when it is placed into your bed, which means the oxygen introduced in the dumping process activates microbes in your soil. Letting the soil settle into its new area for at least 3 days allows time for the biological activity to slow down which will be a better environment for your new plants. You can place your soil as much as 2-4 weeks prior to planting, but if you do, be sure to start watering your soil immediately as you would if plants were growing to maintain the appropriate moisture level and biology in your soil.

Step 5: Depending on where you live, early May is typically the best time to start planting your garden. Raised bed gardens can be used for growing from seeds or plant starts, which are small plants that have already been sprouted by a nursery or gardening department. Most raised bed gardeners grow herbs, vegetables and flowers.
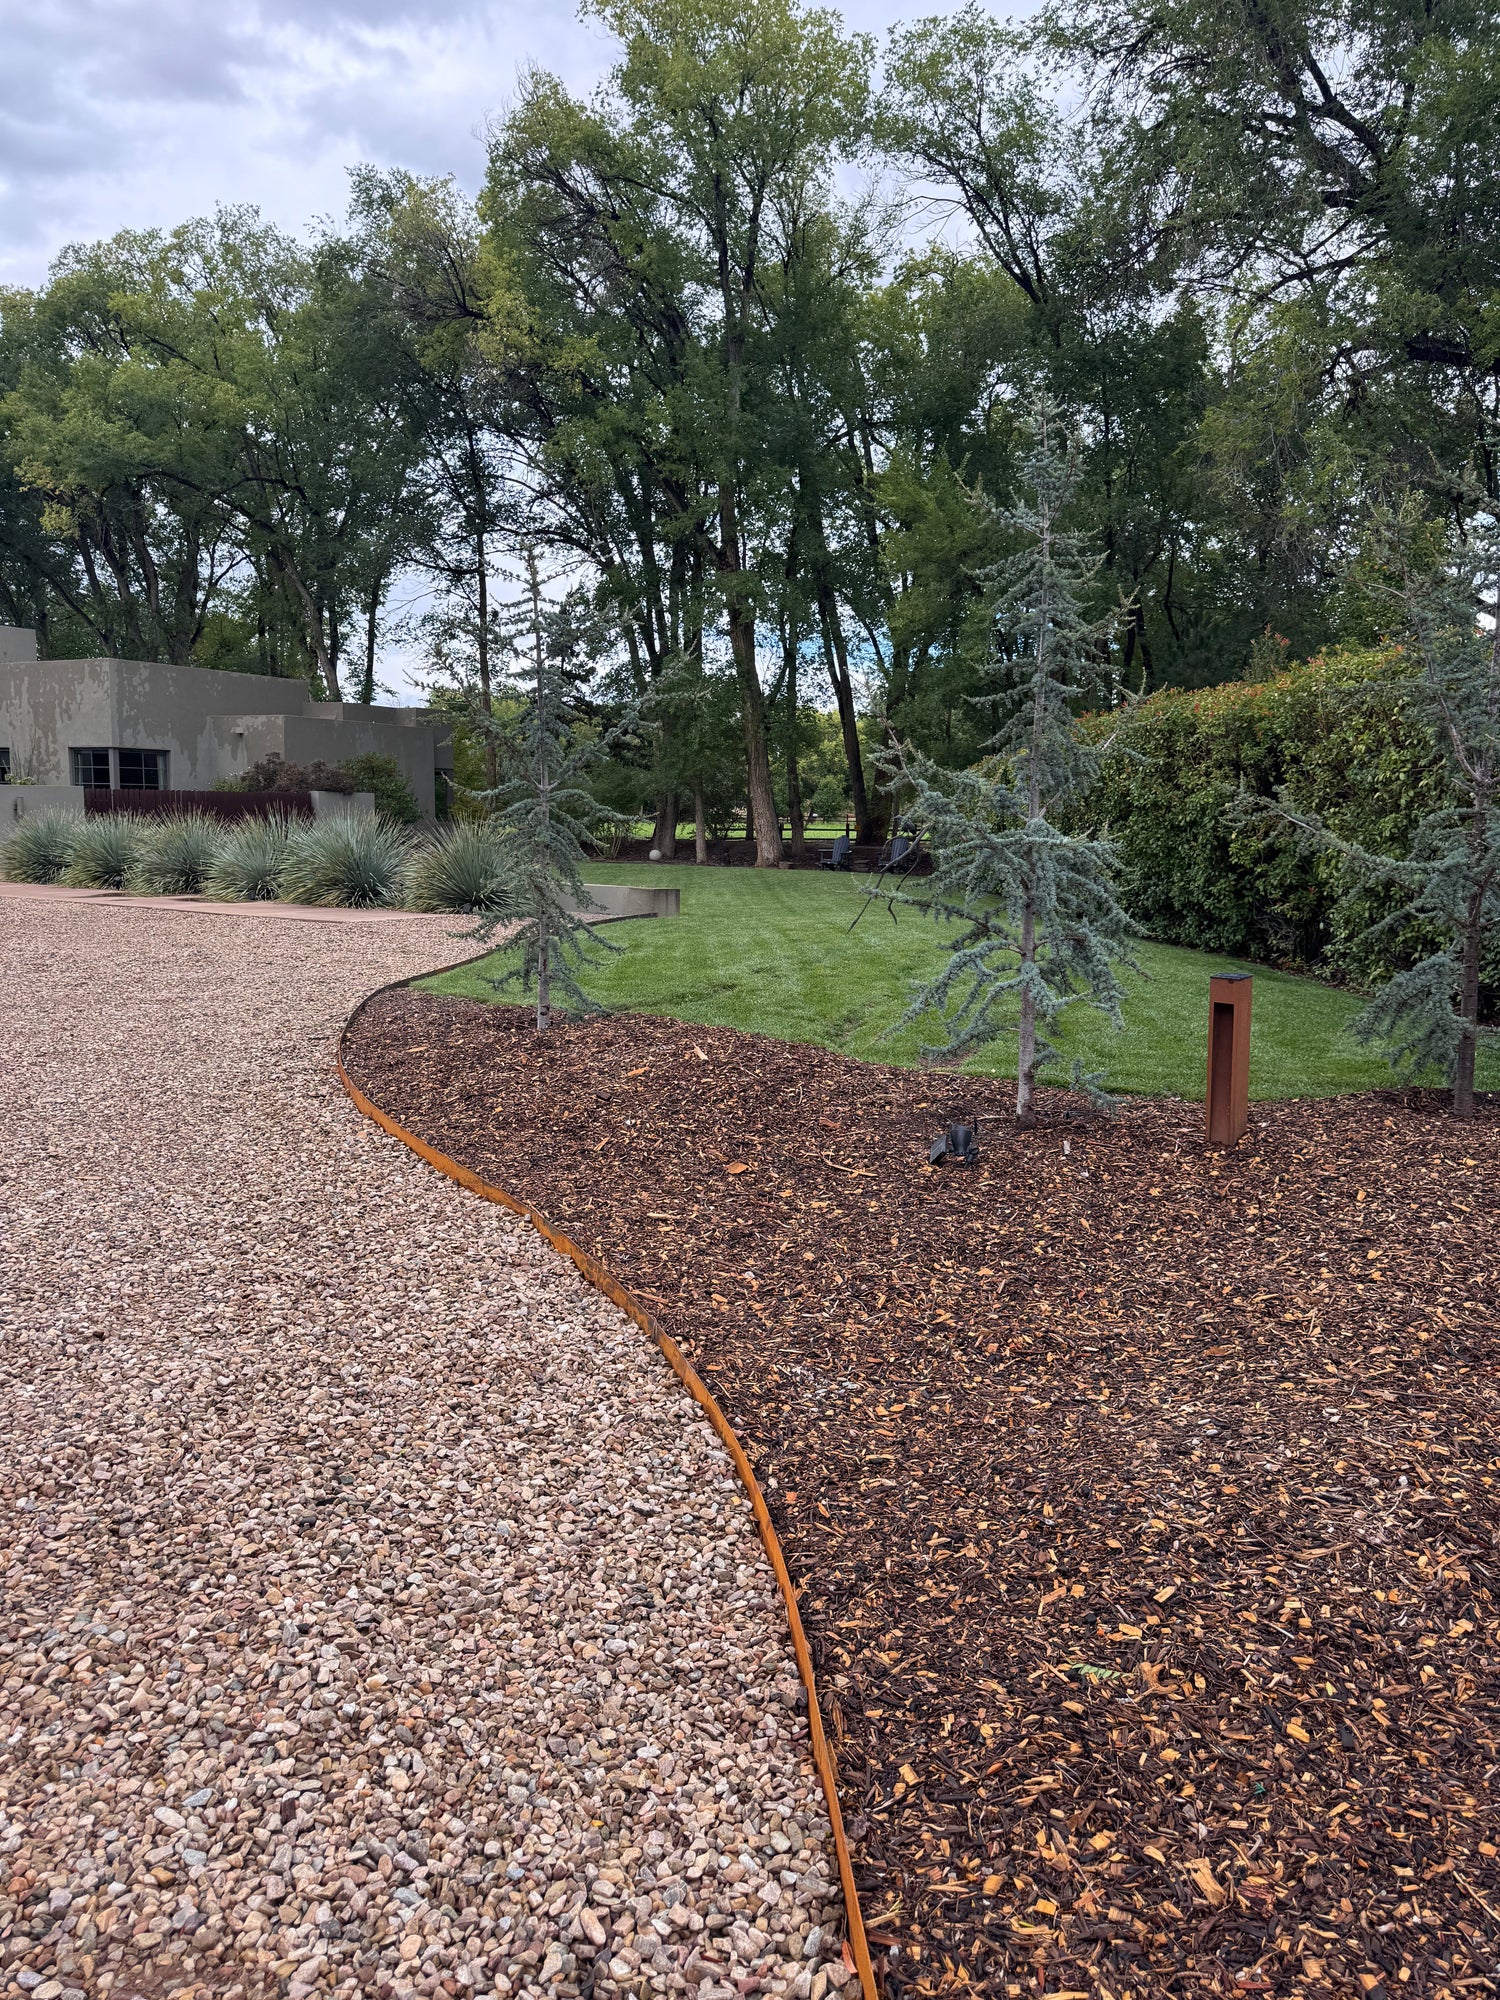
Step 6: After planting starts or seeds in your soil, apply a 2" layer of mulch to improve, moisture, nutrient retention and oxygen flow. If you planted seeds, leave the areas where they are germinating without mulch. Once the plants are 3" tall, move the mulch in near the base of the stem.
- SOILUTIONS RECOMMENDS: Our Forest Floor Mulch is our choice for raised beds. It is created from chipped woody materials and a touch of our Soilutions Compost for added nutrients through the season.
Step 7: To ensure a thriving garden, follow our Seasonal Soil Care guidance year-round.