

By Wendy Blair, Expert Gardener, Instagram: @505garden
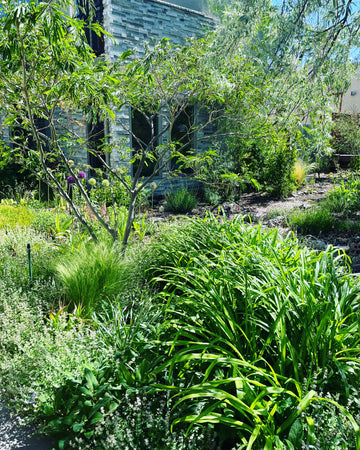
Raised bed gardens may be very popular, however there are also advantages to in-ground gardening. First, creating a garden in the ground is more economical as there is no need to buy or build a structure to house your new plants. Any flat space in your yard with adequate sun exposure is a potential spot for an inground garden. That being said, if you don’t love the space you created for your inground garden, you can always move it to another spot in your yard as an inground garden is less permanent. Inground gardens can also be easier to water. It is generally simpler to set up irrigation in rows on the ground than in raised beds or containers. Inground gardens also dry out less quickly as the surrounding native soil helps to retain moisture.
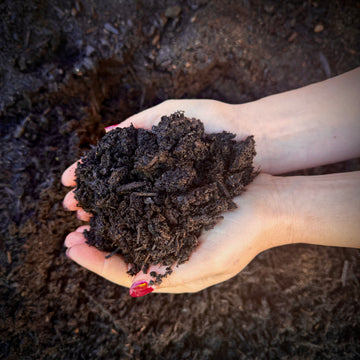
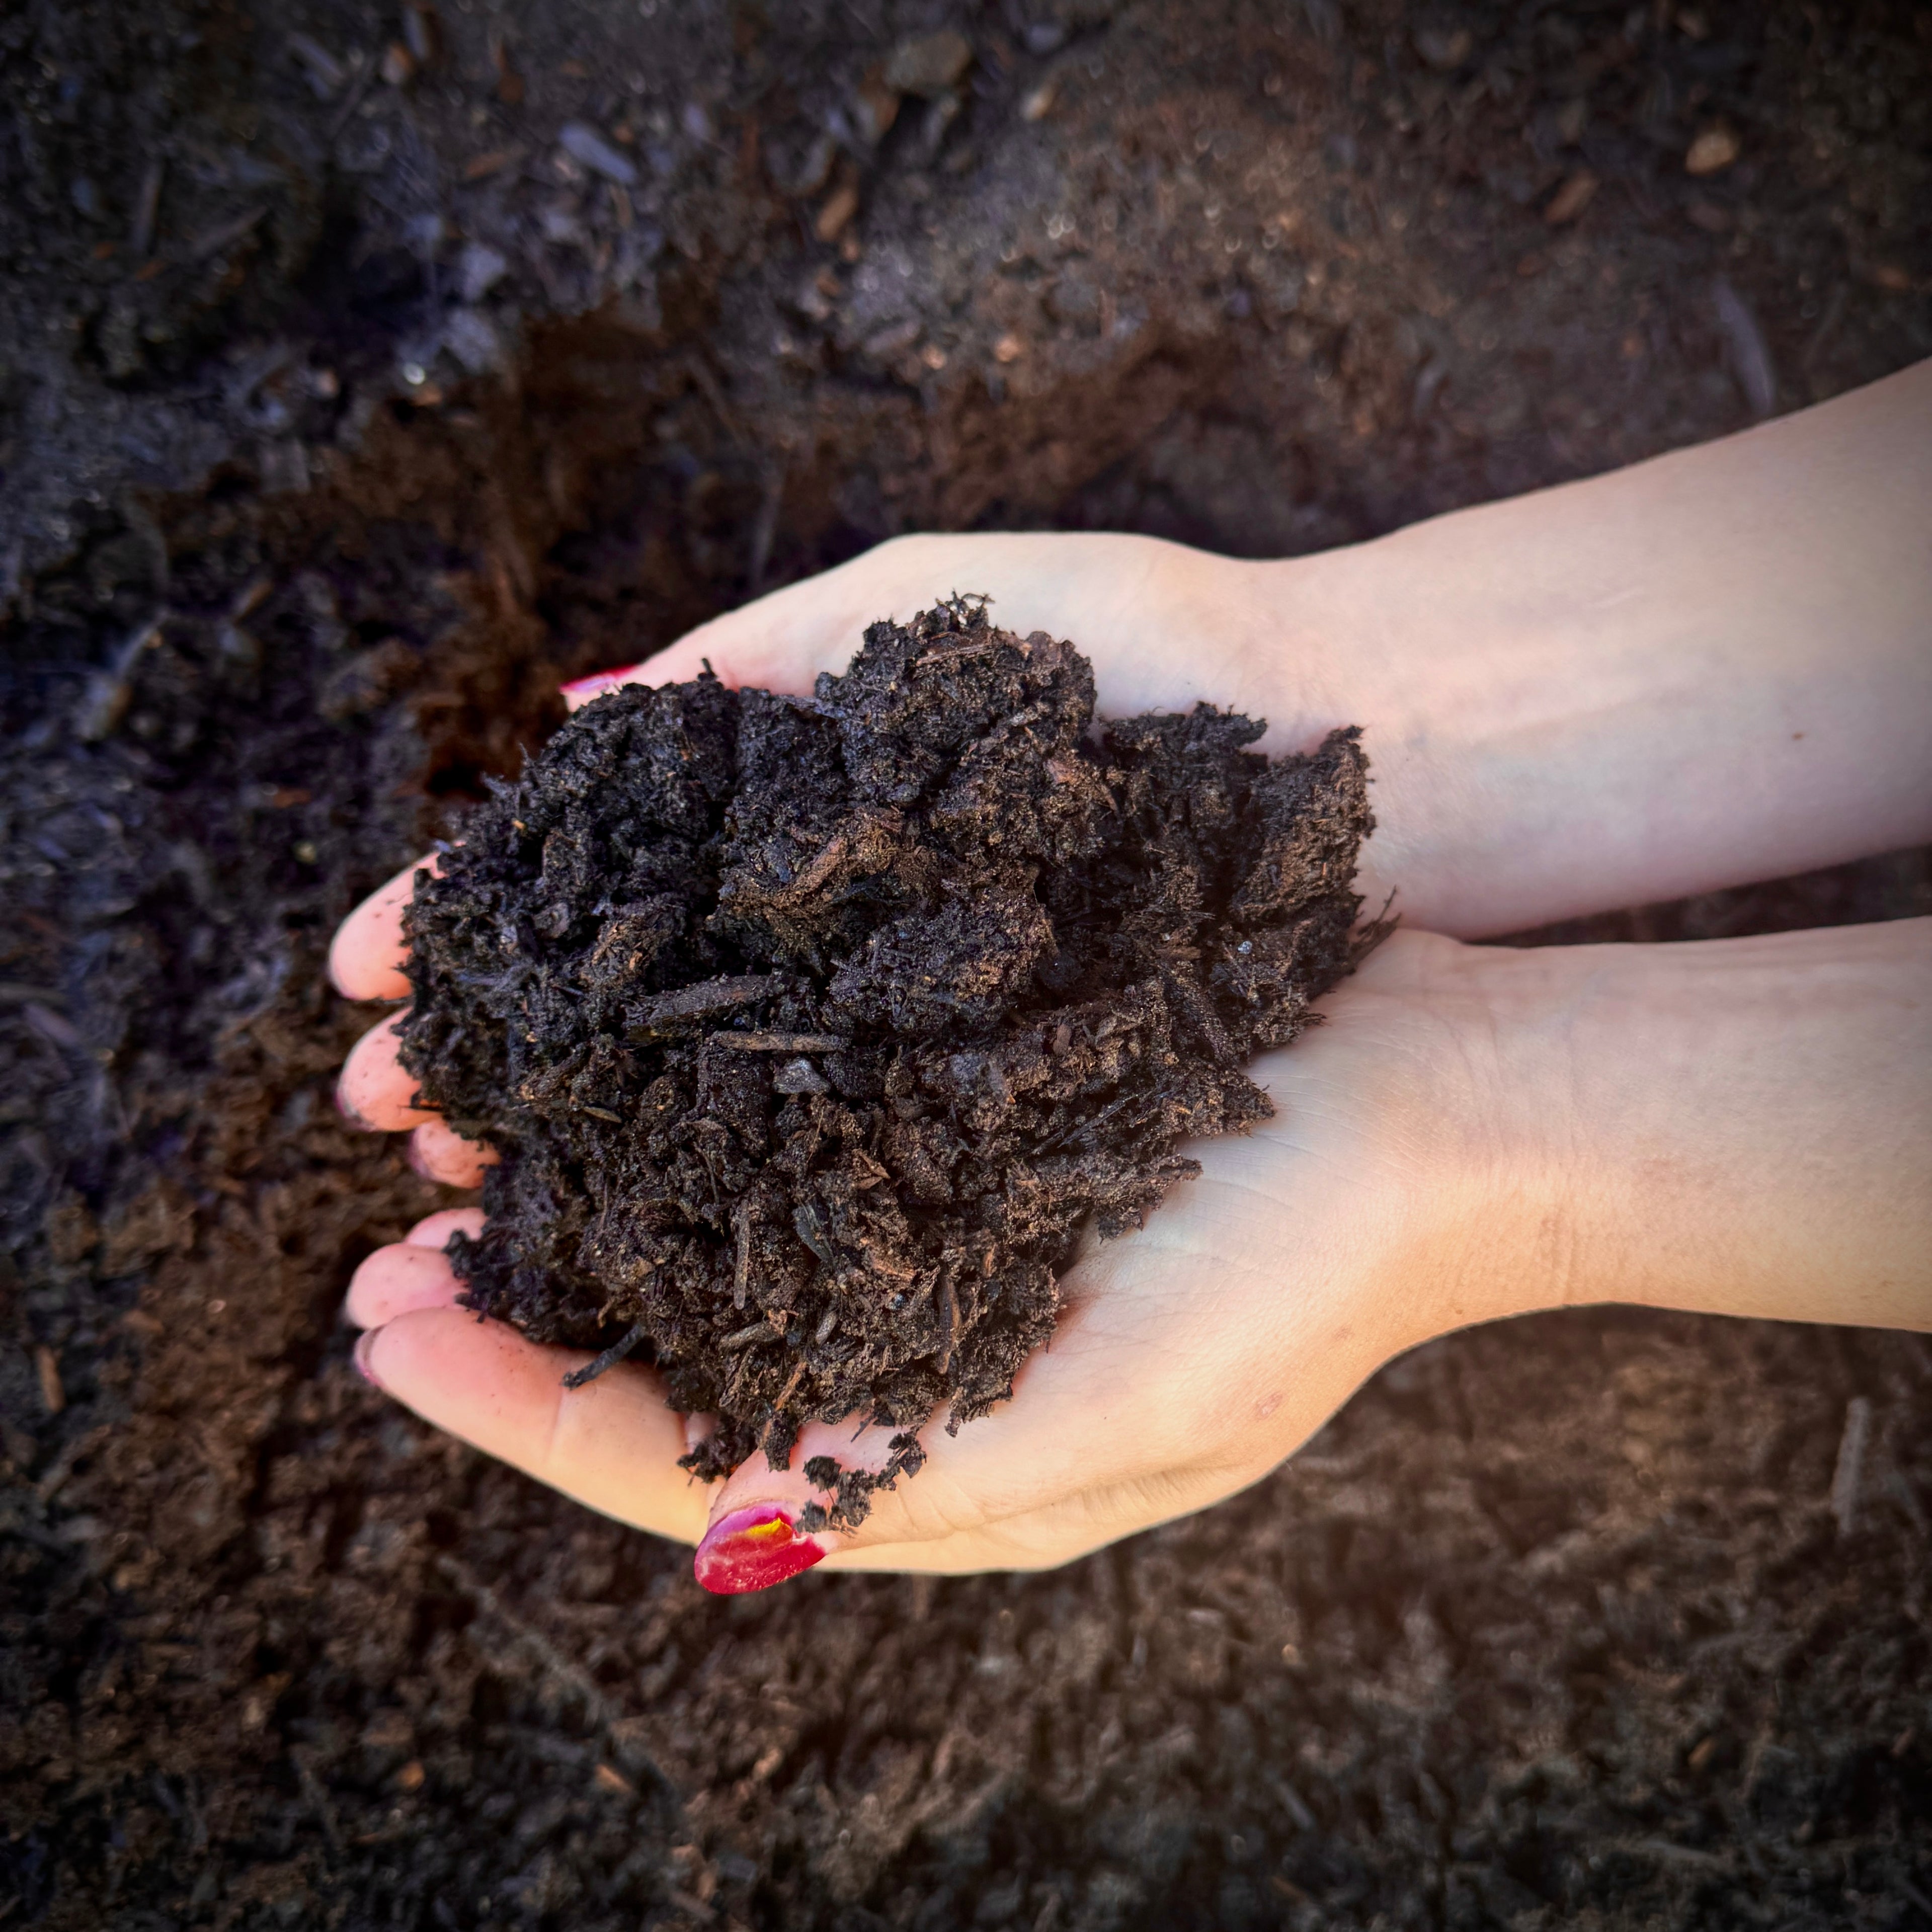
Building Healthy Soil is Crucial!
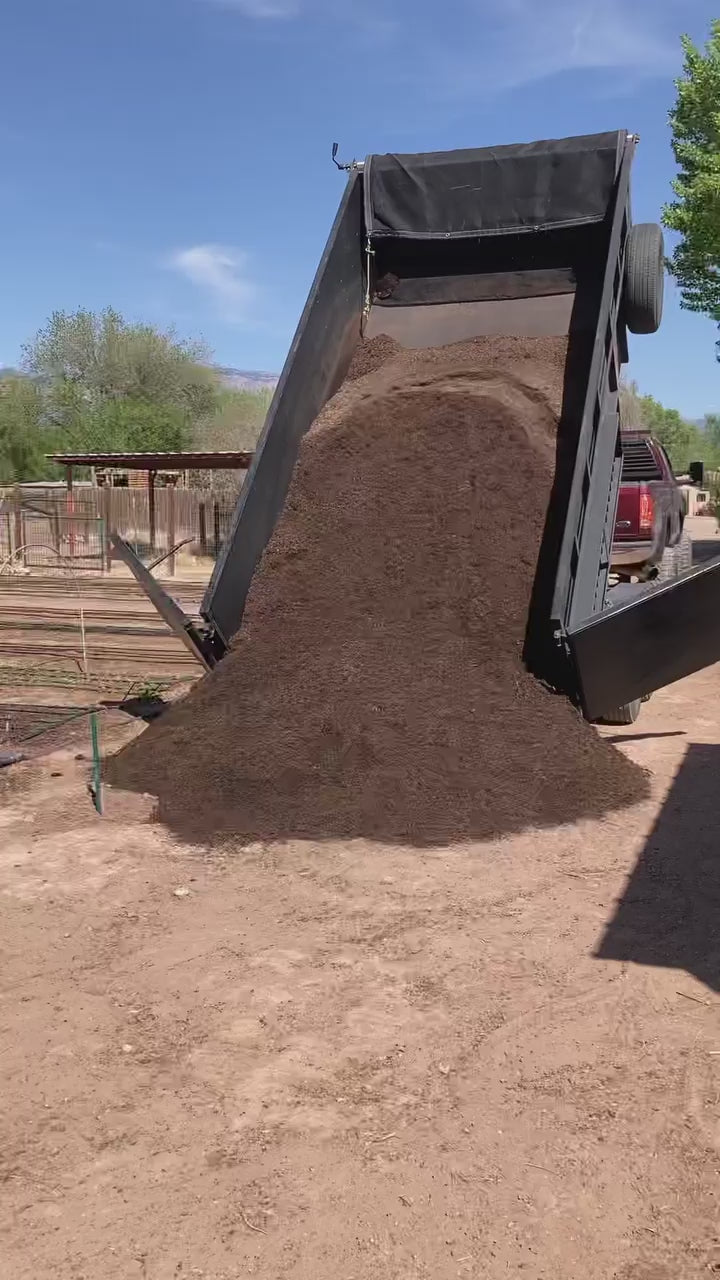
Unless you live in an area with dark, crumbly and fertile soil, you will need to use a high quality garden soil to place your plants in (especially if you are growing hungry annuals like vegetables). Garden soil contains essential nutrients that can aid native soils in moisture and nutrient retention, reduce compaction and improve overall soil composition. Even soil that is deficient in nutrients can be improved over time by adding garden soil. We recommend our Premium Garden Soil which is a specialized blend incorporating sandy loam, Soilutions Compost, coco coir and New Mexico pumice. This soil is rich in organic matter and is designed to help your plants develop healthy roots.
How to Prepare your Space for an In-ground Garden
-
Till the entire area you are planning for your in-ground garden. Tilling helps to break up compacted soils and it will make it easier to dig the trenches for your rows. Depending on the size of your area, you can use a spade shovel, hand-tiller, or rototiller (for big spaces) to turn or till your native soil. Make sure to work the soil to a depth of 12-14”.
-
Once your soil is loosened, rake it flat
-
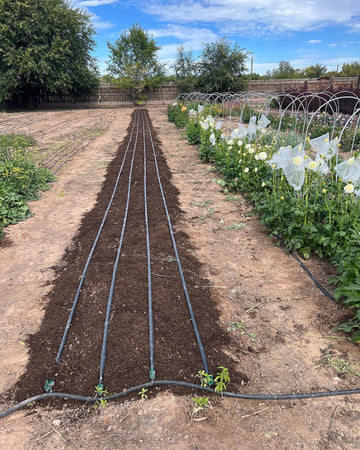
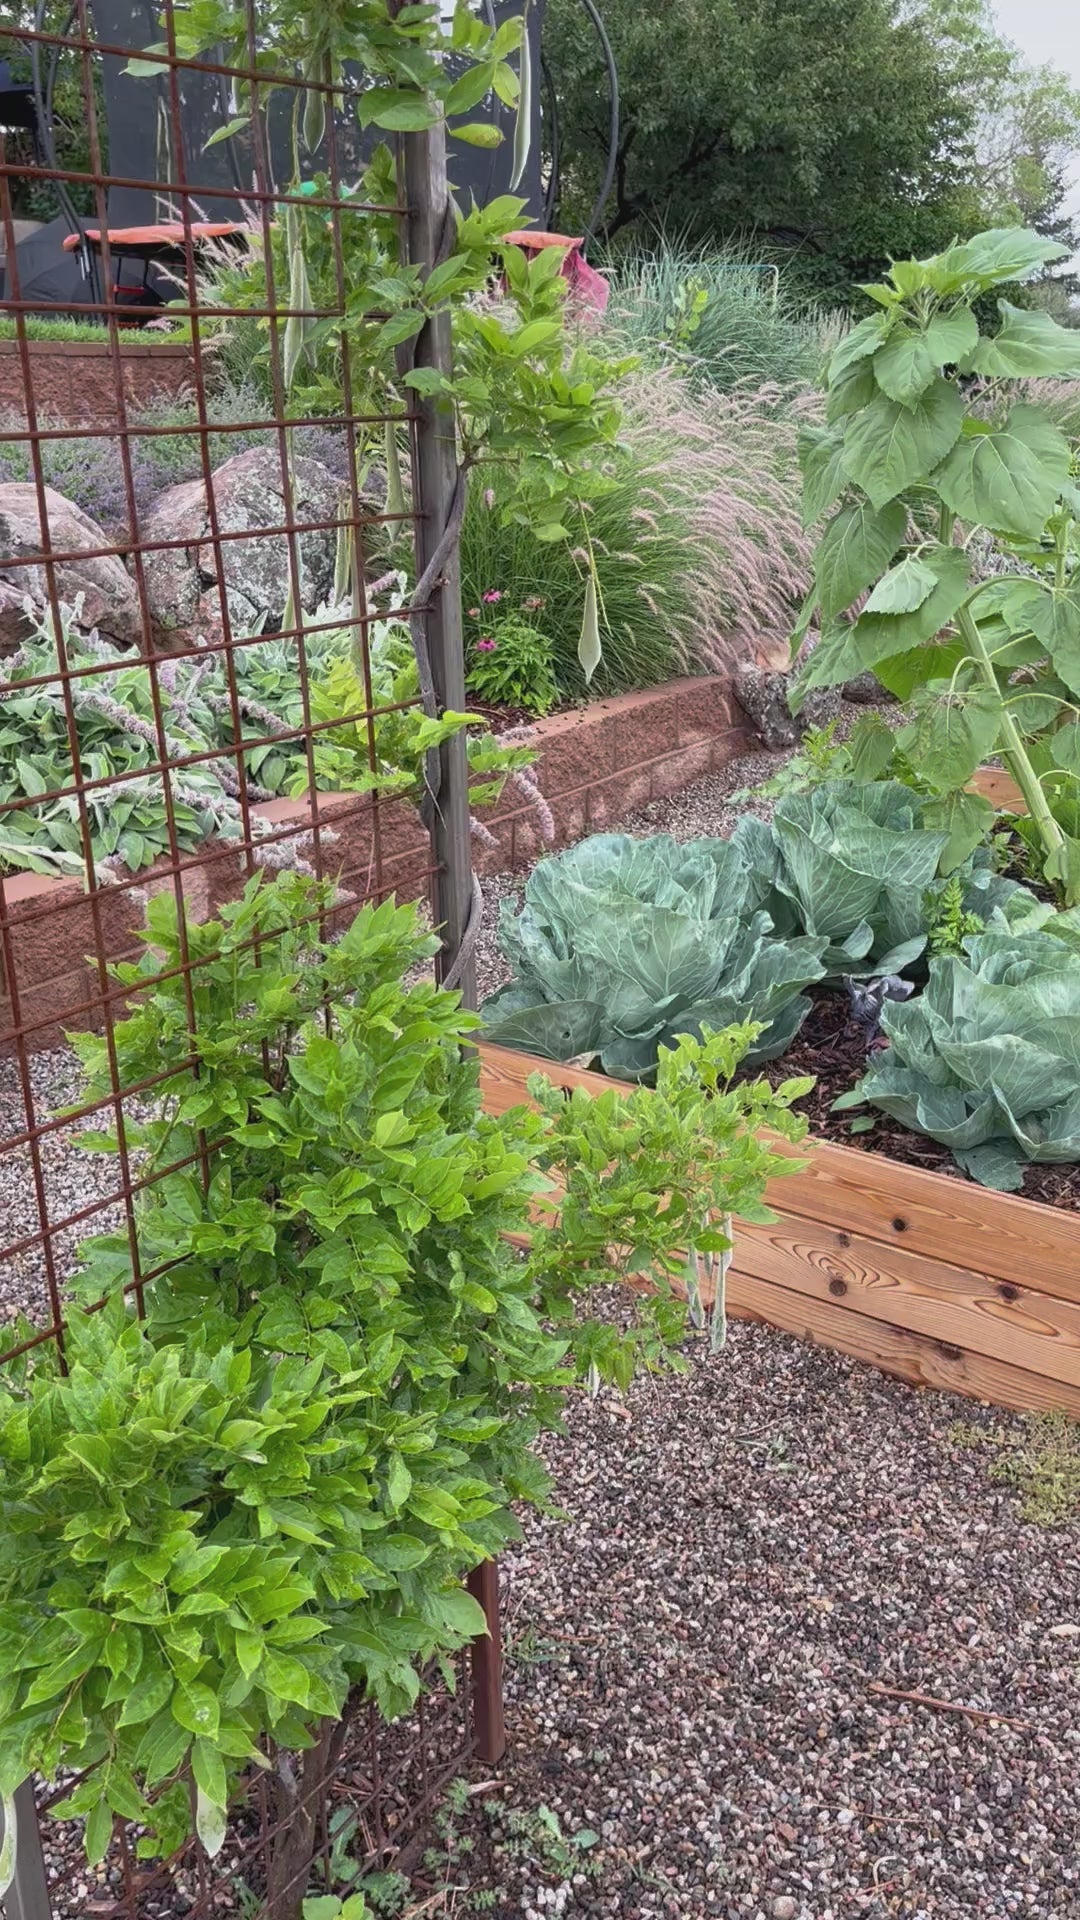
Now you are ready to make rows to plant in. Dig your soil out to form trenches that are no less than 12” deep. Make sure to make your planting rows/trenches at least 12” wide, however wider is better in this case. A 2’-3’ wide row is recommended for optimum root development. It’s also nice to have at least 2’-3’ of native soil between rows as a work space for easier planting and harvesting. You can use this space as your walkway between your rows of crops. Walkways at least 3’ wide enable you to get a wheelbarrow or garden cart between rows. Plus, it's great to have this non-planted area to provide adequate airflow between your crops. Note: this amount of non-planted space seems like a lot at first, however mature crops can get very tall and wide (indeterminate tomato plants, for example, can grow up to 20’ tall and very wide if left unpruned).
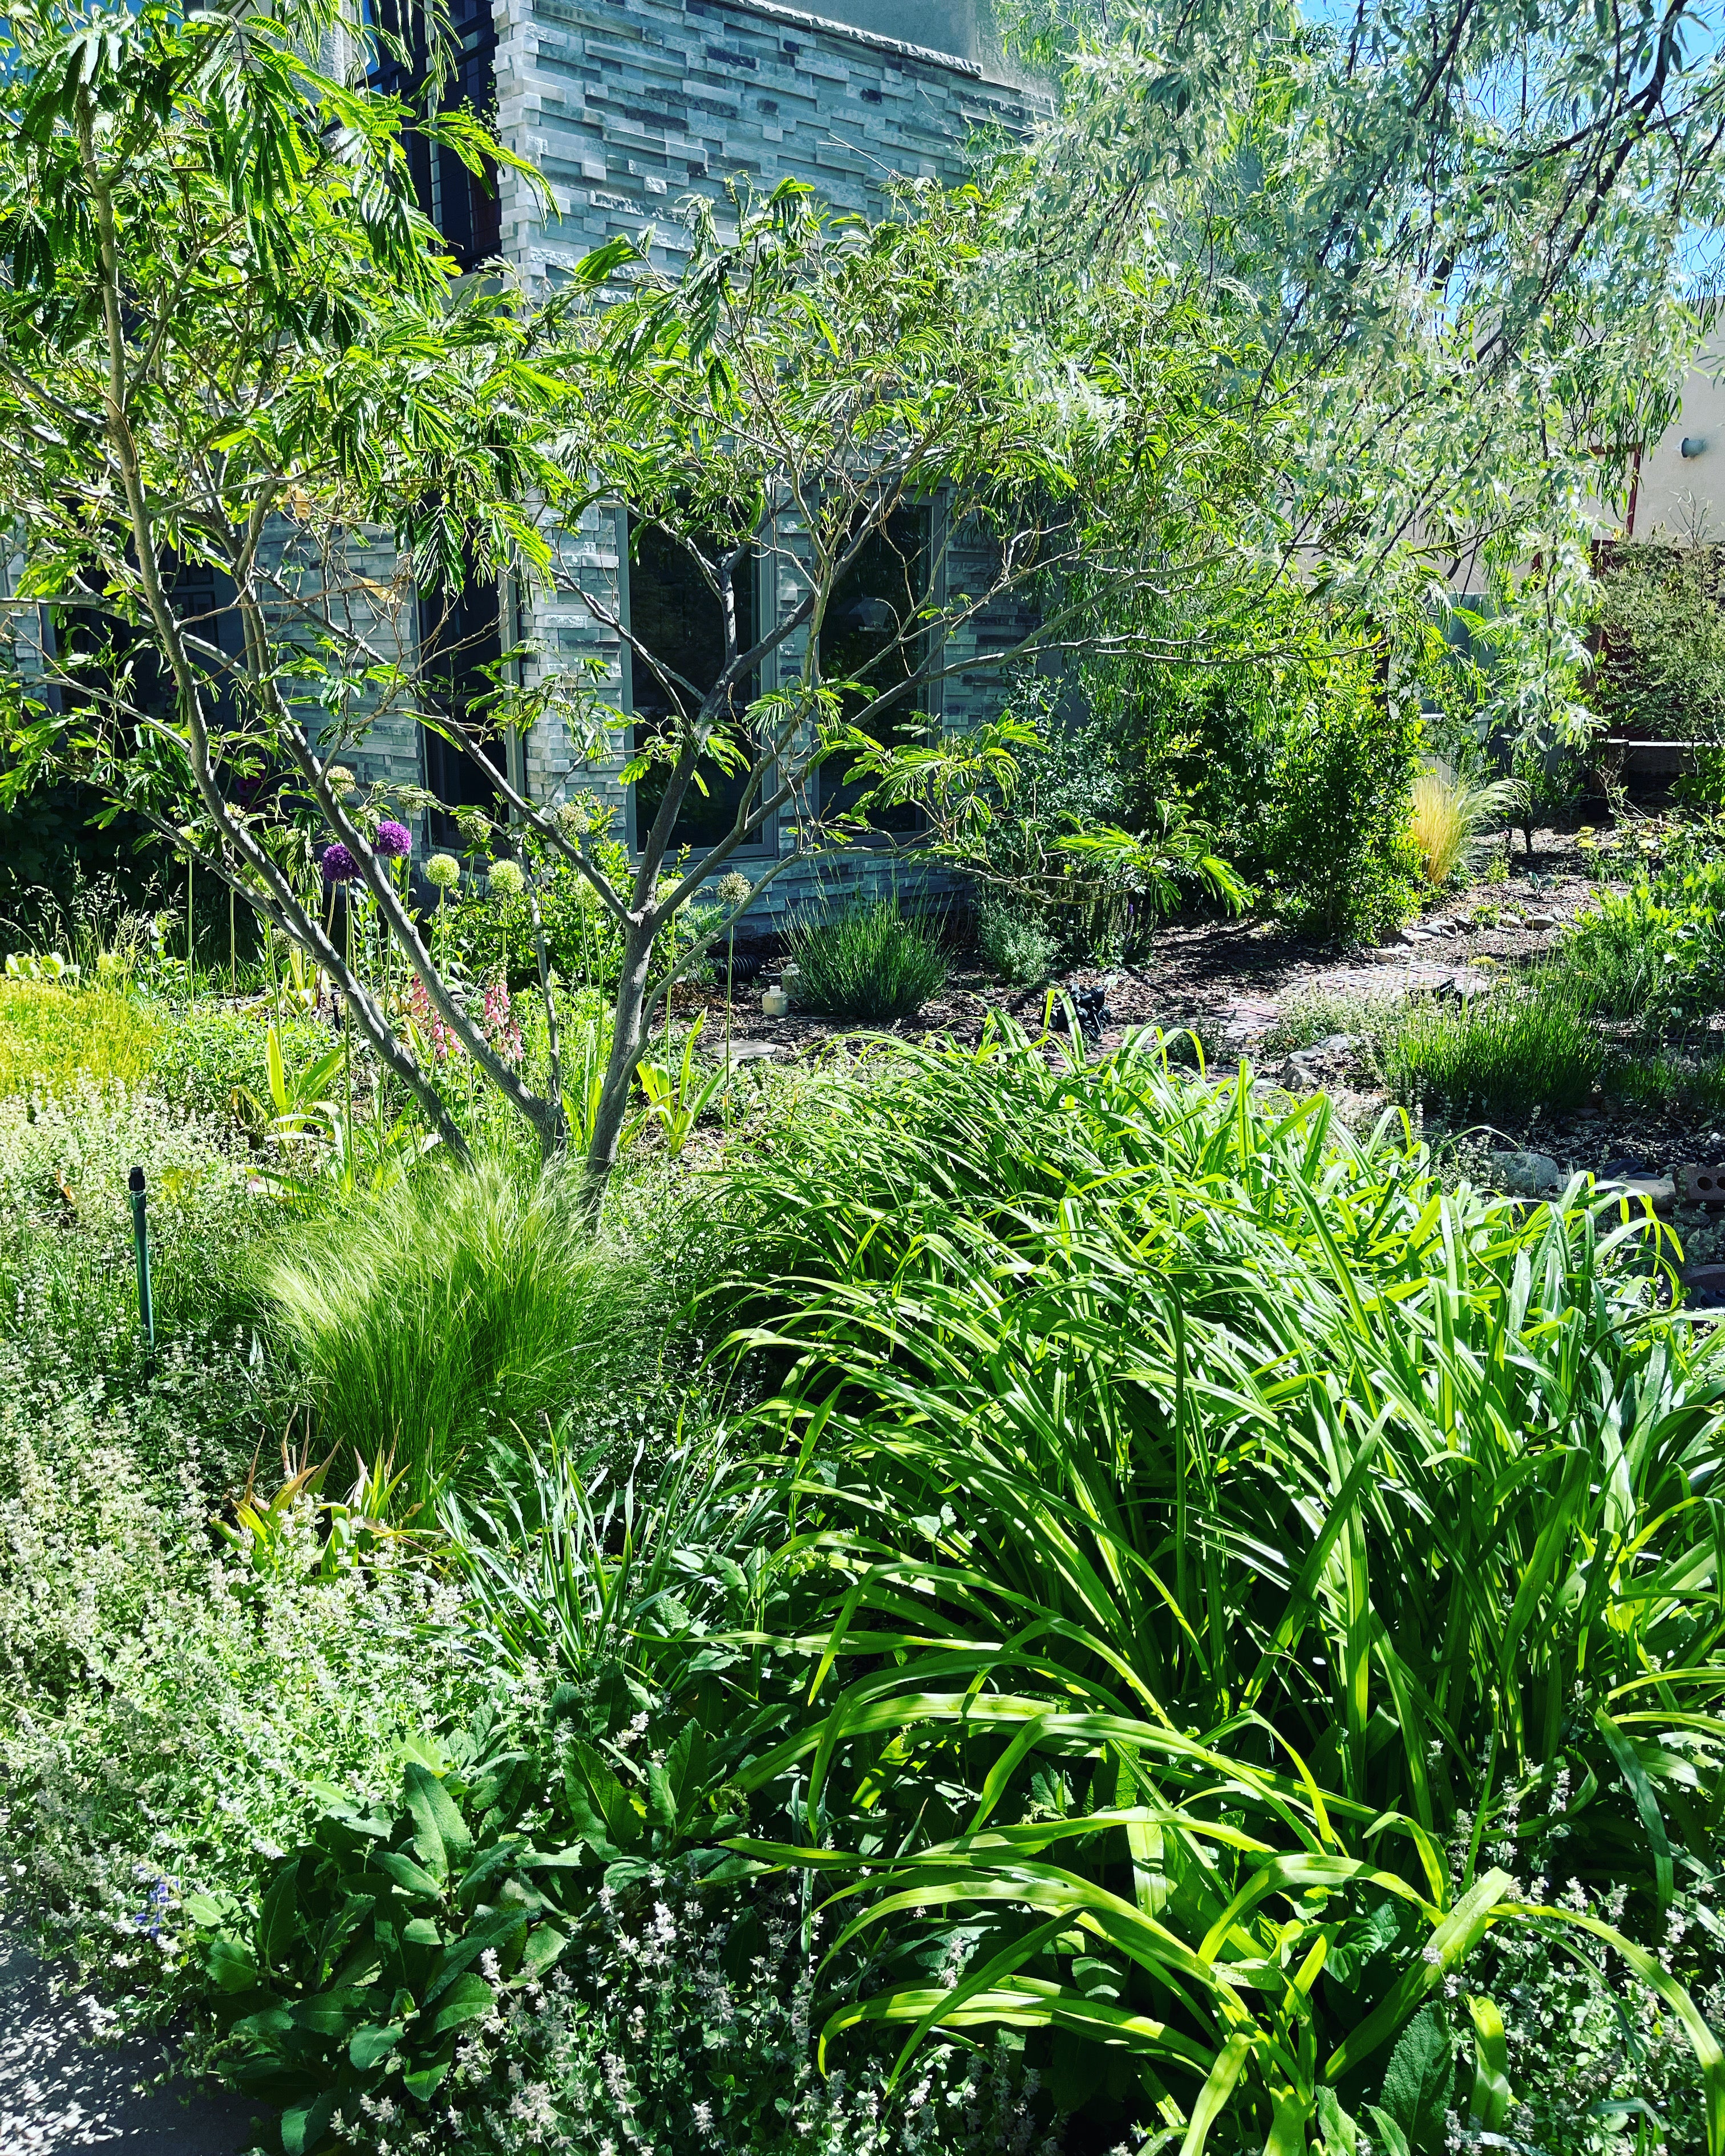
3’ wide planting rows (dark soil) with 2.5’ work area (lighter mulched area)
-
Shovel the native soil out of the trenches into a wheelbarrow and transport to another spot in your yard that can use fill dirt. Or, you can use that soil to make a border around your inground garden.
-
FILL your trenches entirely with quality garden soil. Make sure the garden soil comes up to the level of your native soil. *Do not mix your purchased garden soil with your native soil. Your native soil will serve more as a container for your new garden soil. Over time, the organic matter and nutrients in the garden soil will help to improve the native soil around it.
-
Rake the garden soil level with your native soil and water the entire area in. Let the soil settle for a few hours or overnight. You will most likely need to add more garden soil in your planting rows to make them level.
-
MULCH: Covering your non-planted rows with a thick layer of mulch is highly recommended. Mulch will keep weeds from growing in your walking rows. It will also help to keep moisture in the soil of the entire planting area. We recommend mulching with our Forest Floor Mulch. It is created from chipped and ground all natural woody materials with a bit of Soilutions Compost added to help feed your soil.
-
PLANTING: Once your garden soil is in place, it is time to plant seeds or transplant young seedlings into your garden soil. Water seeds and seedlings in well. Seeds and new plants need extra watering until they are established so make sure you keep them moist until seeds germinate, or seedlings are established. Mulch in your new seedlings immediately after planting to prevent water loss and help prevent weeds from growing near your new plants. Weeds will steal water and nutrients from your crops. Do not mulch seeded areas until germination has occurred and seedlings have established a few sets of leaves. Many seeds need sunlight to germinate and prematurely adding mulch can block the sunlight.
-
WATERING: Make sure you have an adequate watering system for your inground garden. Drip irrigation on a timer is the most efficient way to water your garden. Drip tubes or drip tape with water emitters every 12-18” is the best type of irrigation to use for in-line inground gardens. Most crops require daily, consistent watering in the summer in the high desert.
-
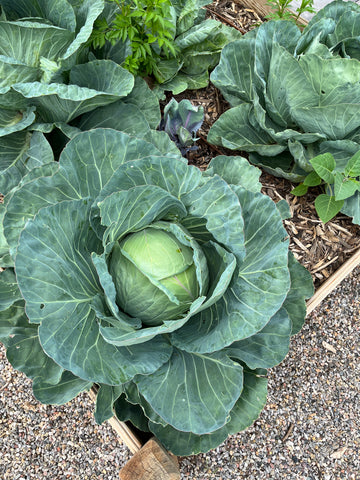
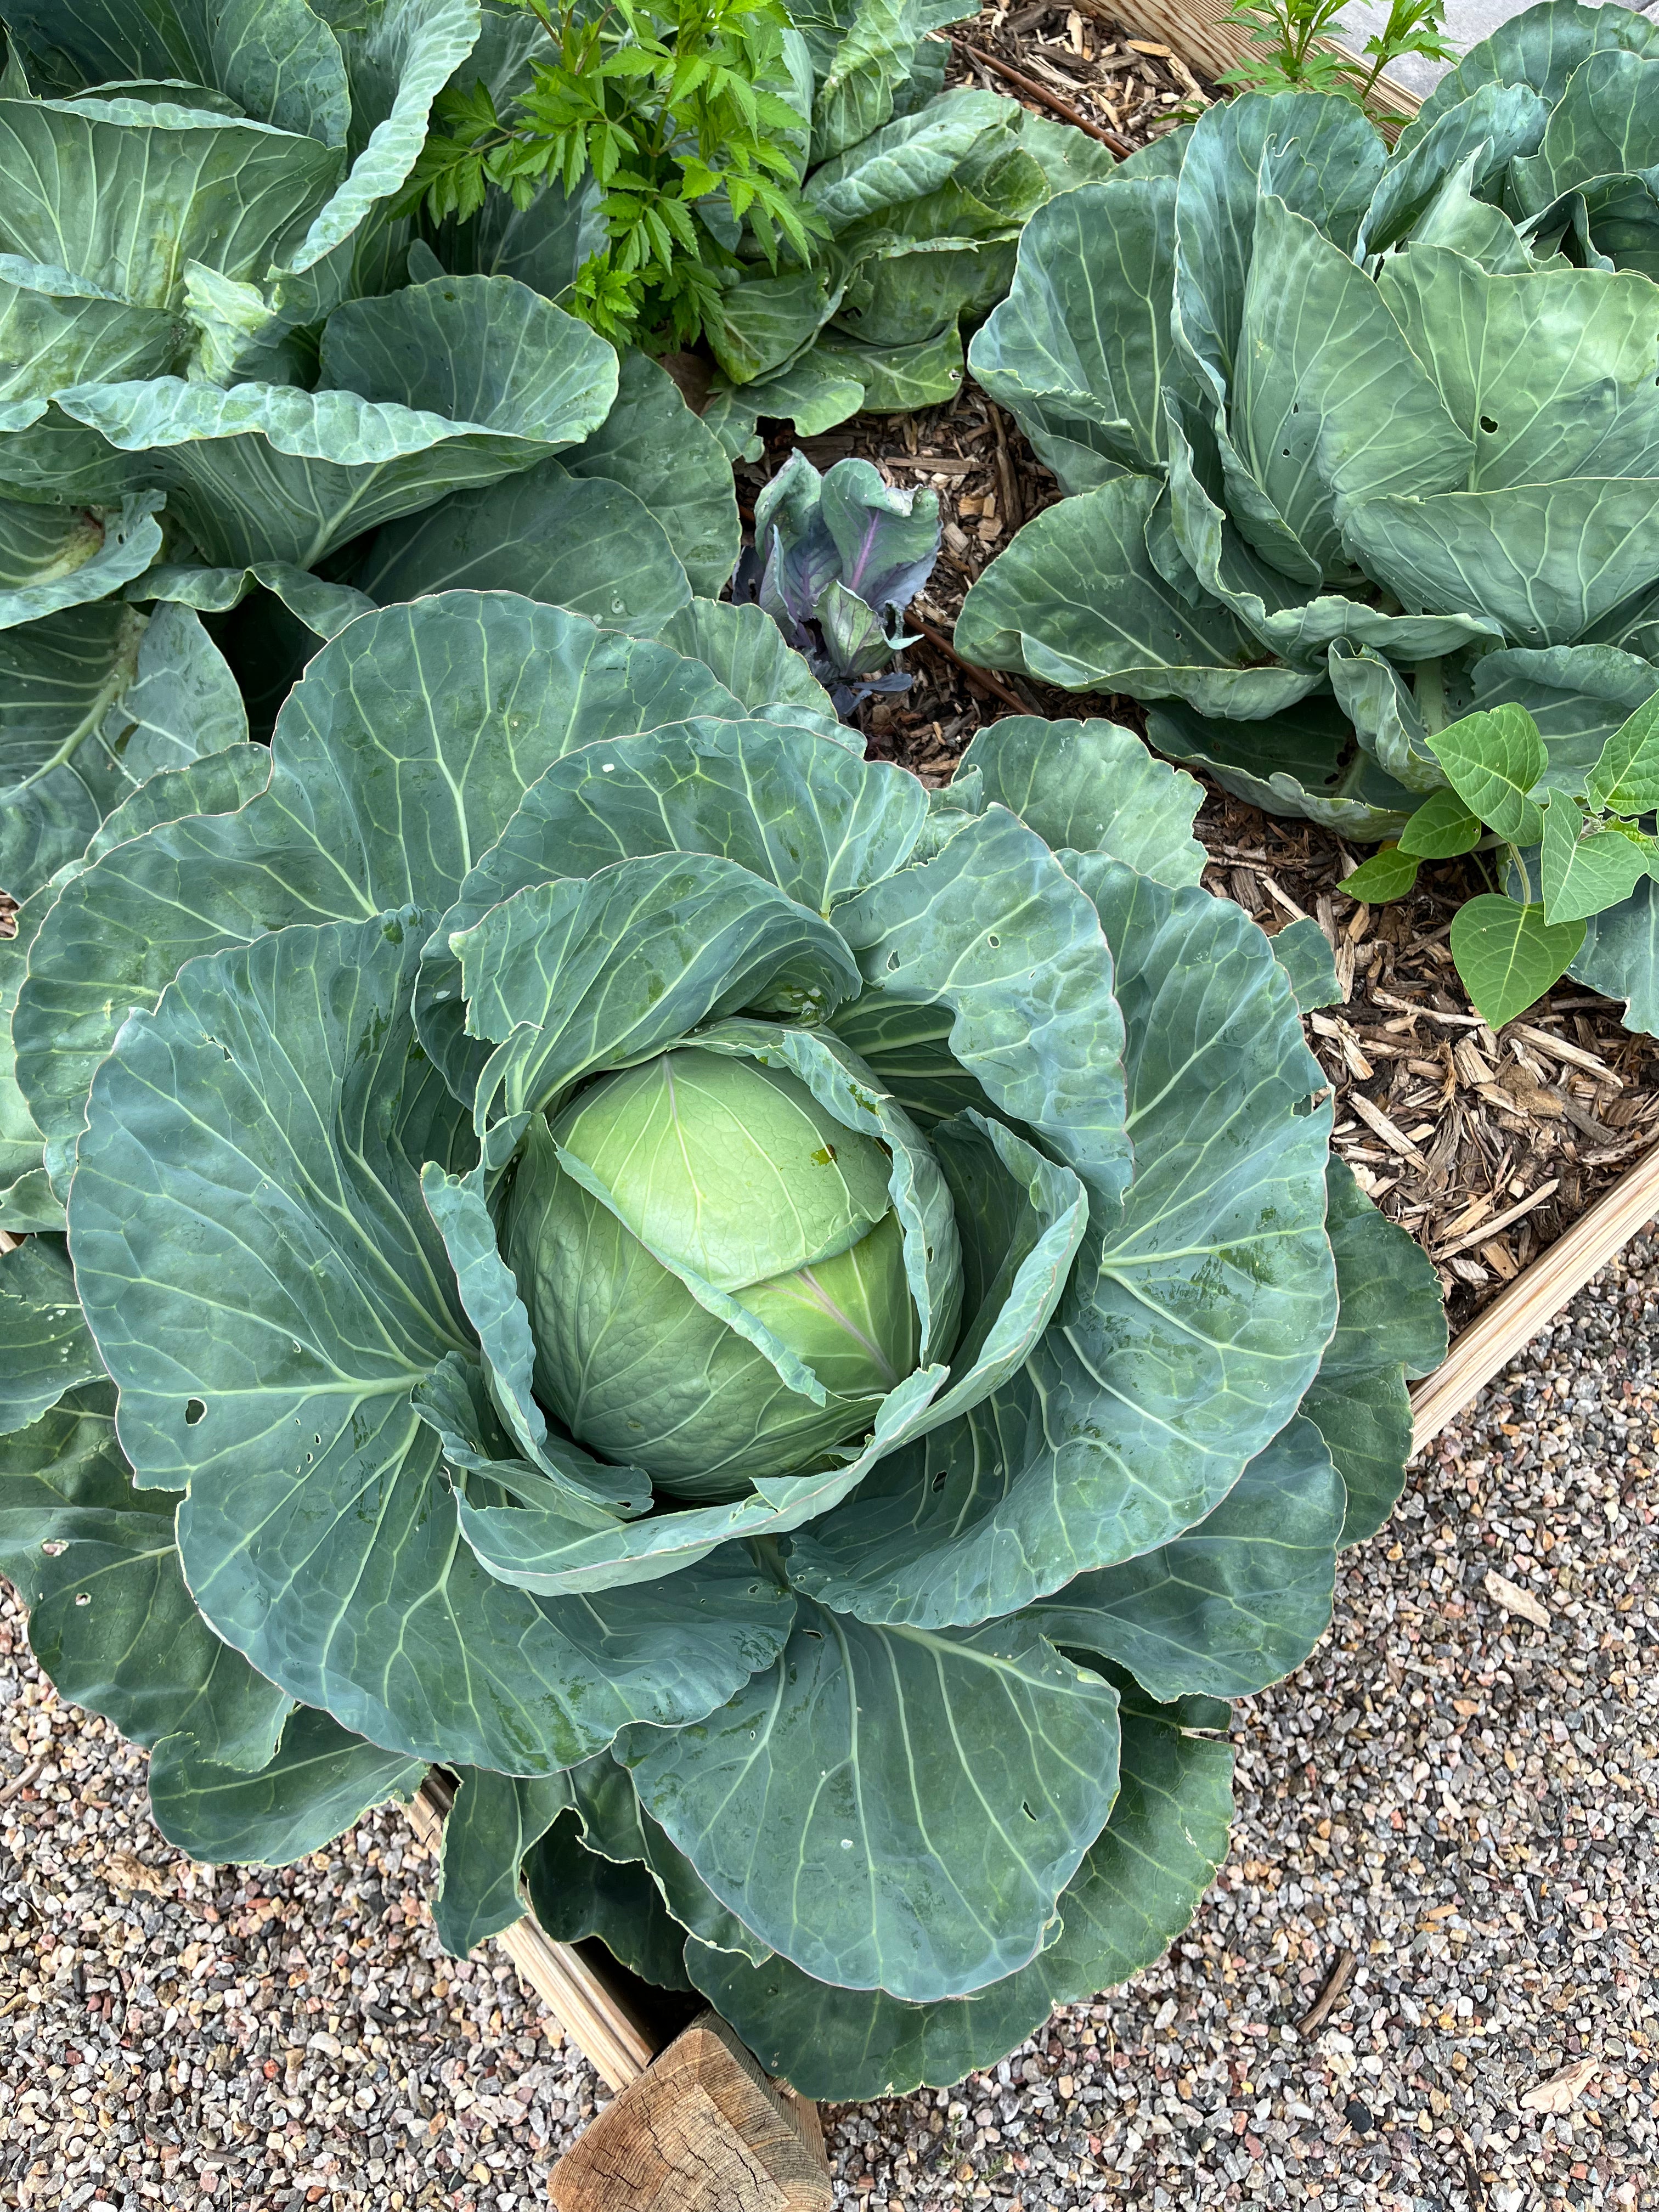
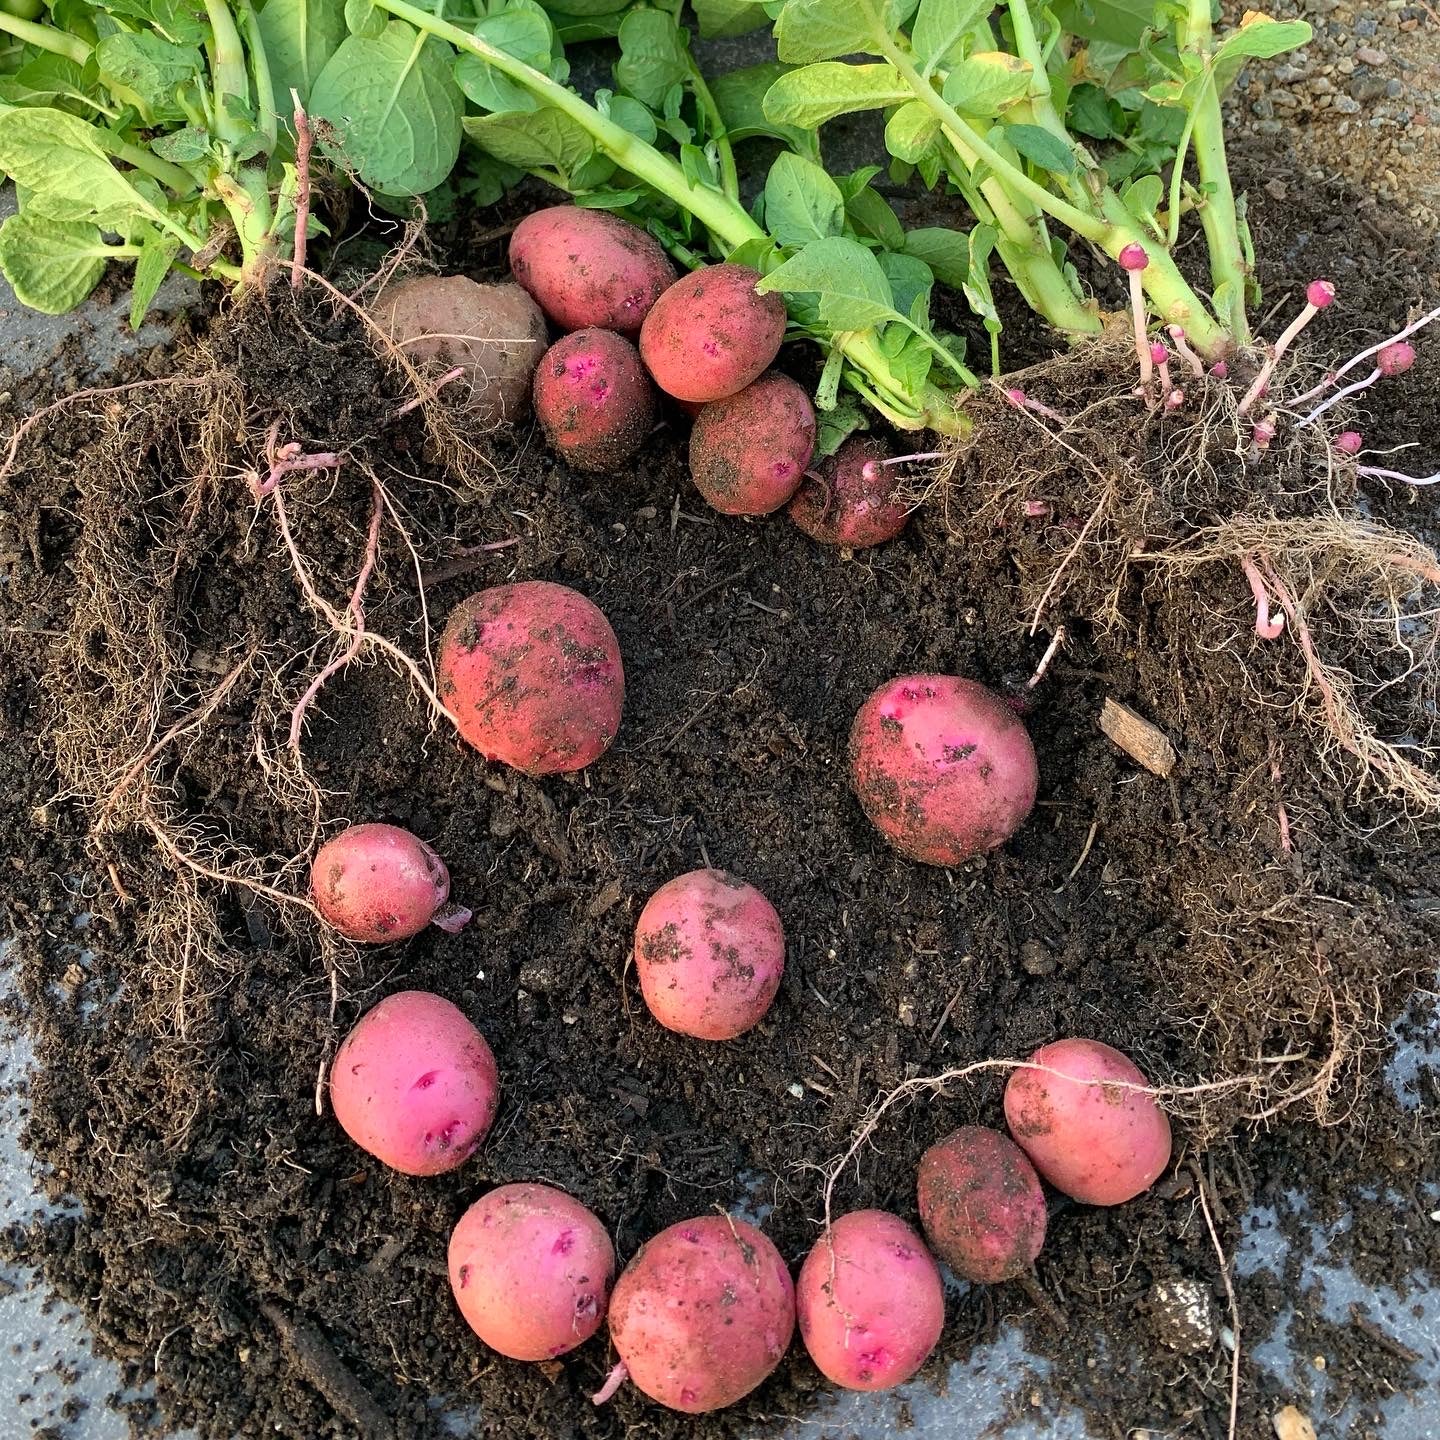
WATCH your garden grow! Remember that the word garden is also a verb. Monitor your plants daily to find any issues with water, pests etc. so you can fix potential problems before they get out of hand. Lastly, enjoy the abundance of your garden!
Gardening in this space in the following years will be less work than the initial set up. When crops have died back after the first frost of Fall, cut all plants at soil level and leave their roots in the ground. Cover your planting rows with a 2” thick layer of Soilutions Compost and let it overwinter. This will replenish your garden soil so it will be ready for a new season of crops!
Happy Gardening! 🧑🌾
Photo credits: Soilutions customer Renee Mollineda