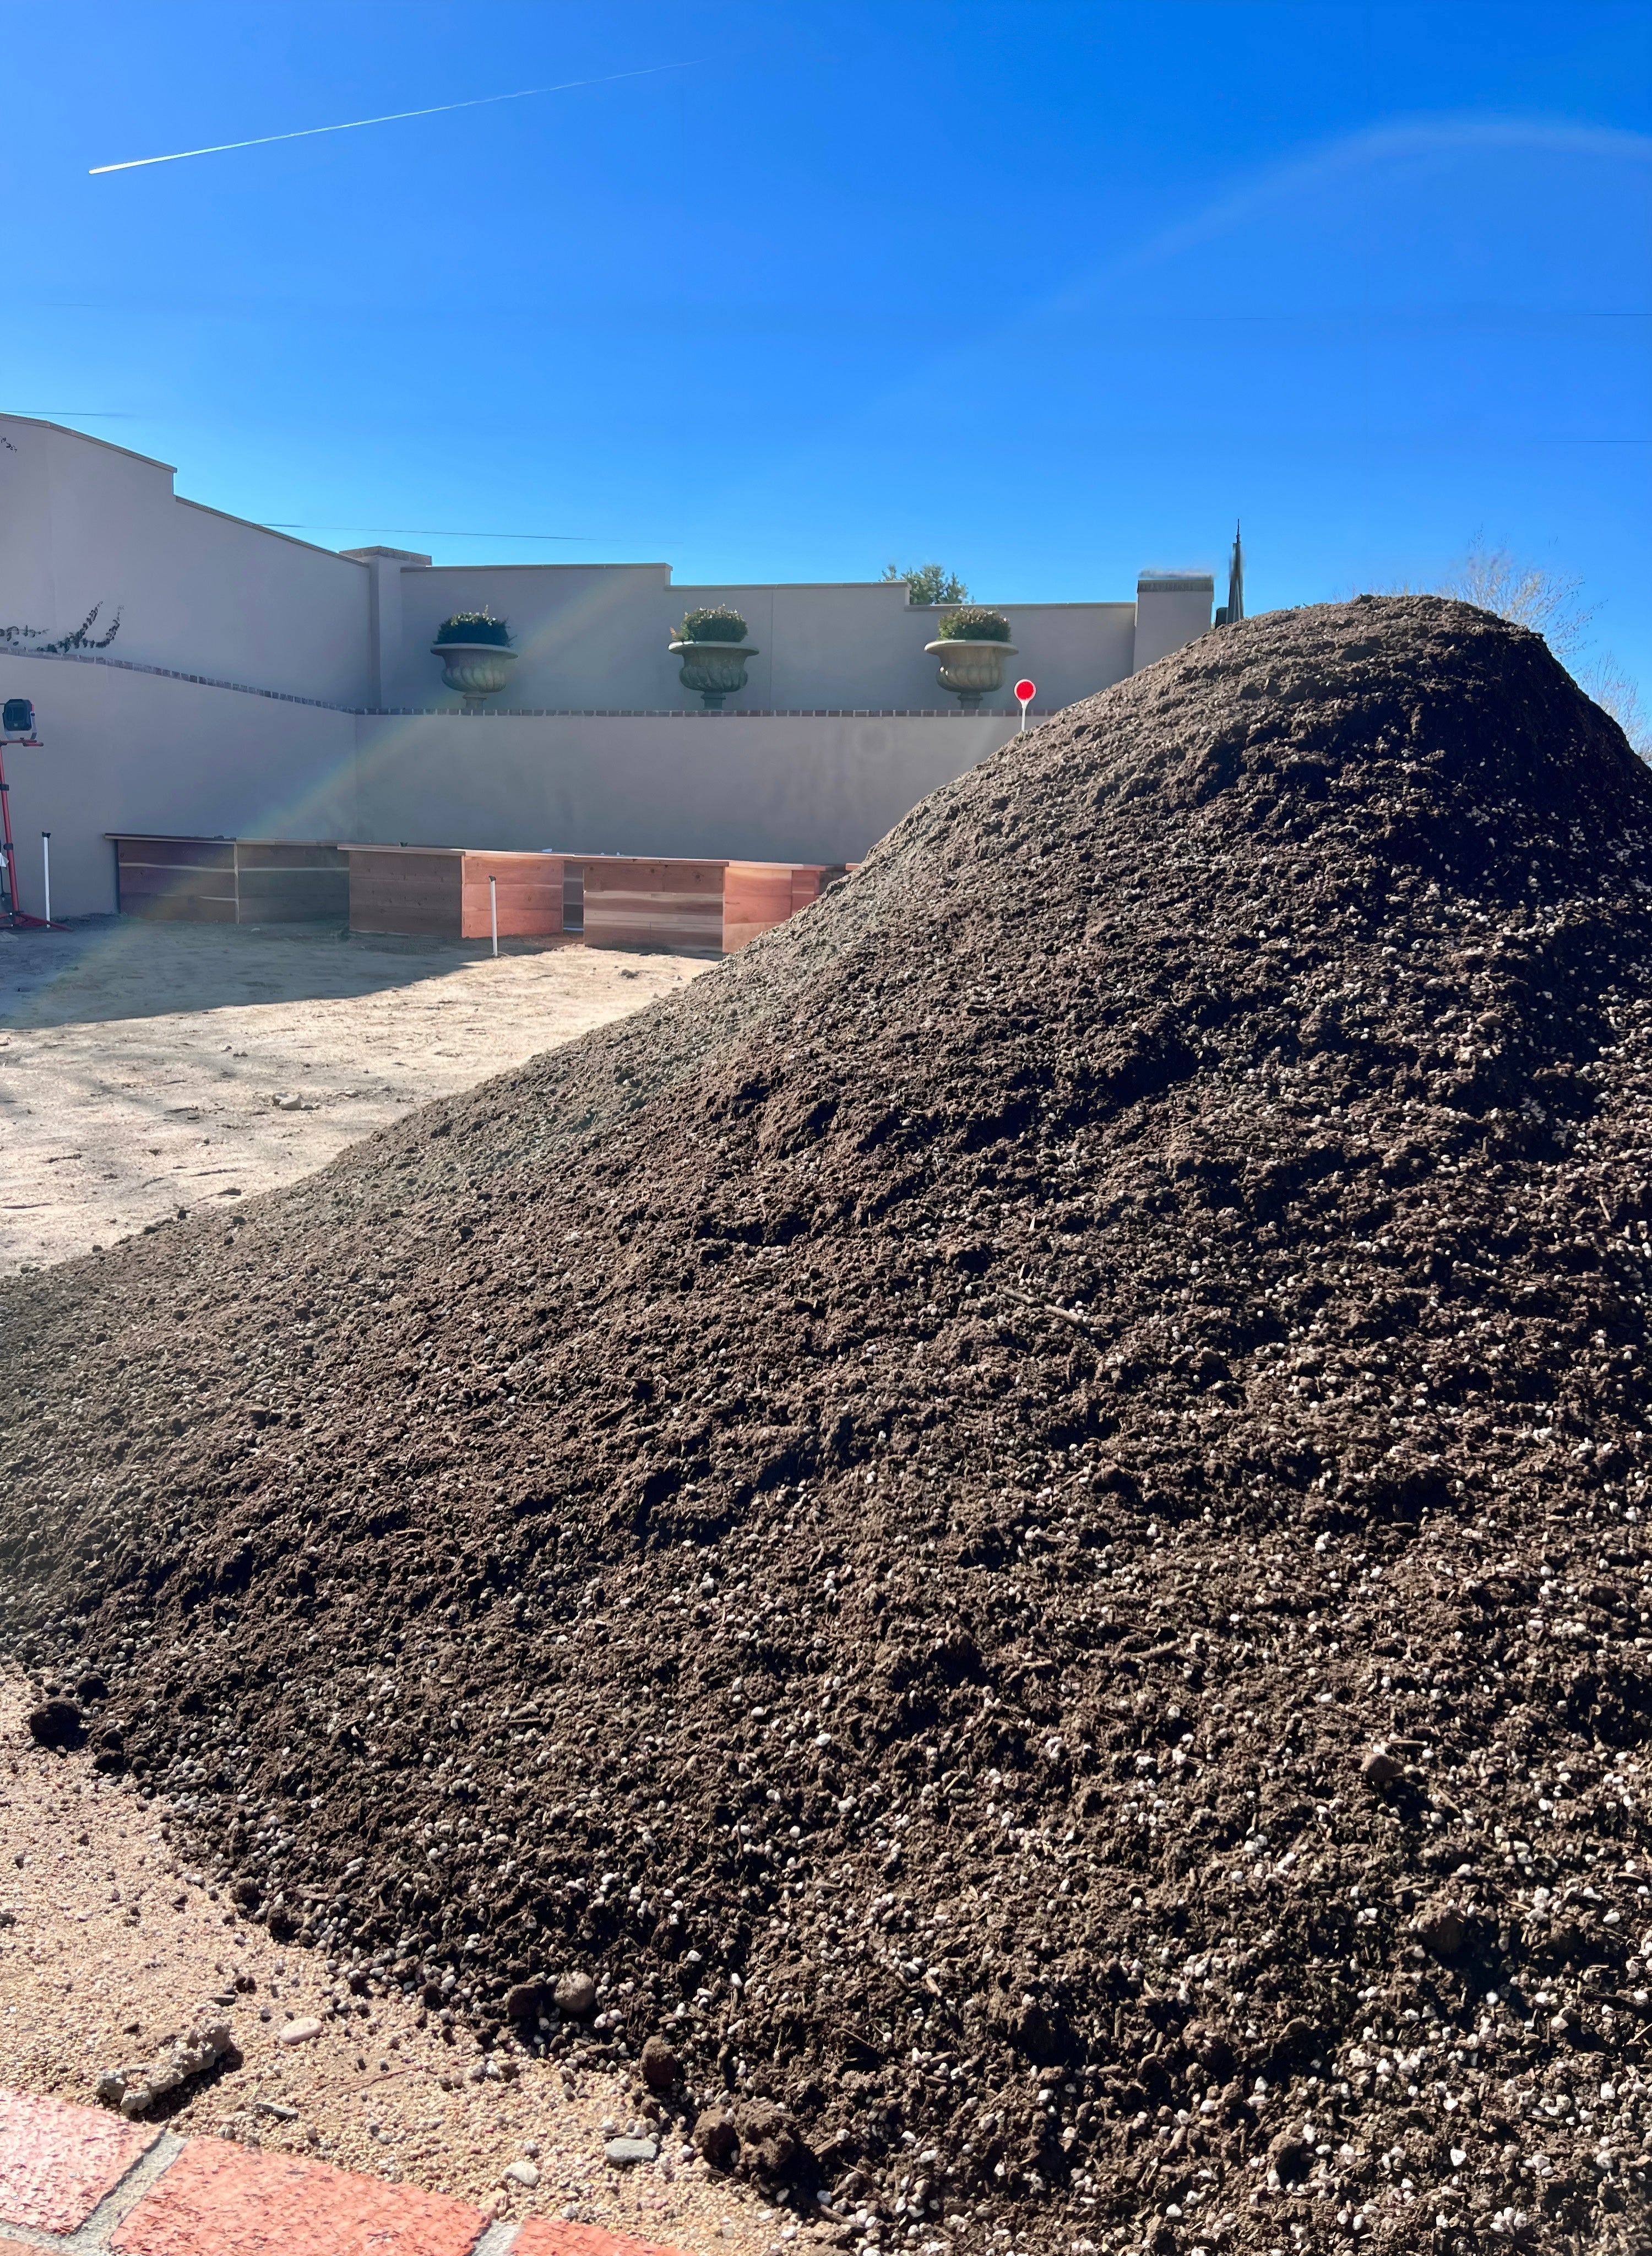
You just got fresh Soilutions Compost or soil for your garden, now what? Working with bulk, living soil is different from bagged potting mixes and soils. Microbes, fungi, and beneficial bacteria are a few of the billions of microorganisms living in the web of life within healthy soil. But don’t worry, your soil is easy to care for as long as you follow these simple steps.
STEP 1: Transport Your Compost/Soil to Your Planting Area ASAP
We recommend applying your compost/soil to your garden bed within 24 hours, but no later than 72 hours after receiving it. Soil and compost are heavy so you’ll want to make sure you have a wheelbarrow or garden cart handy to help with transport. A shovel and gloves are essential as well. *If you are unable to work with your delivery right away, please make sure to keep it moist by spraying the pile with water daily.
STEP 2: WATER! Your compost/soil is thirsty
Work water into your compost/soil as you are filling/amending your planting beds. We recommend using a hose with a mister nozzle to evenly incorporate water in with your soil. Moisture needs to be worked into compost and soil at a steady, even rate to prevent clumping. A rush of water from an open spigot can lead to clumping soils. This can produce dry pockets that direct water through channels instead of allowing water to permeate throughout the soil. When properly watered, soil or compost should take on the texture of a damp sponge: wet to the touch, but no water dripping when you squeeze it.
Make sure your soil is level! After the soil is in place and well-watered, level the soil with a rake. Level soil will ensure that water flows down and through soil, and will help prevent surface erosion.
Note: Living soil needs to maintain moisture content. In our hot and arid environment, it can lose moisture quickly! Natural minerals in soil can become hydrophobic (resistant to moisture absorption) without proper watering, so be sure to keep your soil well-watered as soon as you work it into your planting area. If your soil does show signs of hydrophobia after it settles, water it slowly and steadily over the course of a day or two. When the top layer of soil starts accepting water you can return to normal watering.
STEP 3: Rest the Soil – Don’t plant for at least 3 days!
The process of moving soil into your beds adds oxygen into your soil. That, and adding water reinvigorates the microorganisms in living soil and they will start to feed vigorously. This rapid microbial feeding will cause the soil to heat up, so you want to let it rest for a few days before you seed or transplant into it. Otherwise your seeds or tender baby plants can suffer and possibly die. Soilutions composts and soils are tested for stability before we consider them ready, so a ‘hot’ compost or soil is unlikely, but it is always best practice to wait for a few days to a week before planting.
A soil thermometer is a great tool to have during the rest period. Ideal soil temperatures depend on the plants, but as a general guide you want your soil to be between 60-80 degrees Fahrenheit for optimal growing conditions. Continue to water your soil regularly during this rest period. Steady, regular watering will also prevent the soil from becoming hydrophobic. As soon as your soil reaches the right temperature and all danger of frost has passed, it’s time to plant or transplant.
Step 4: Add Mulch.
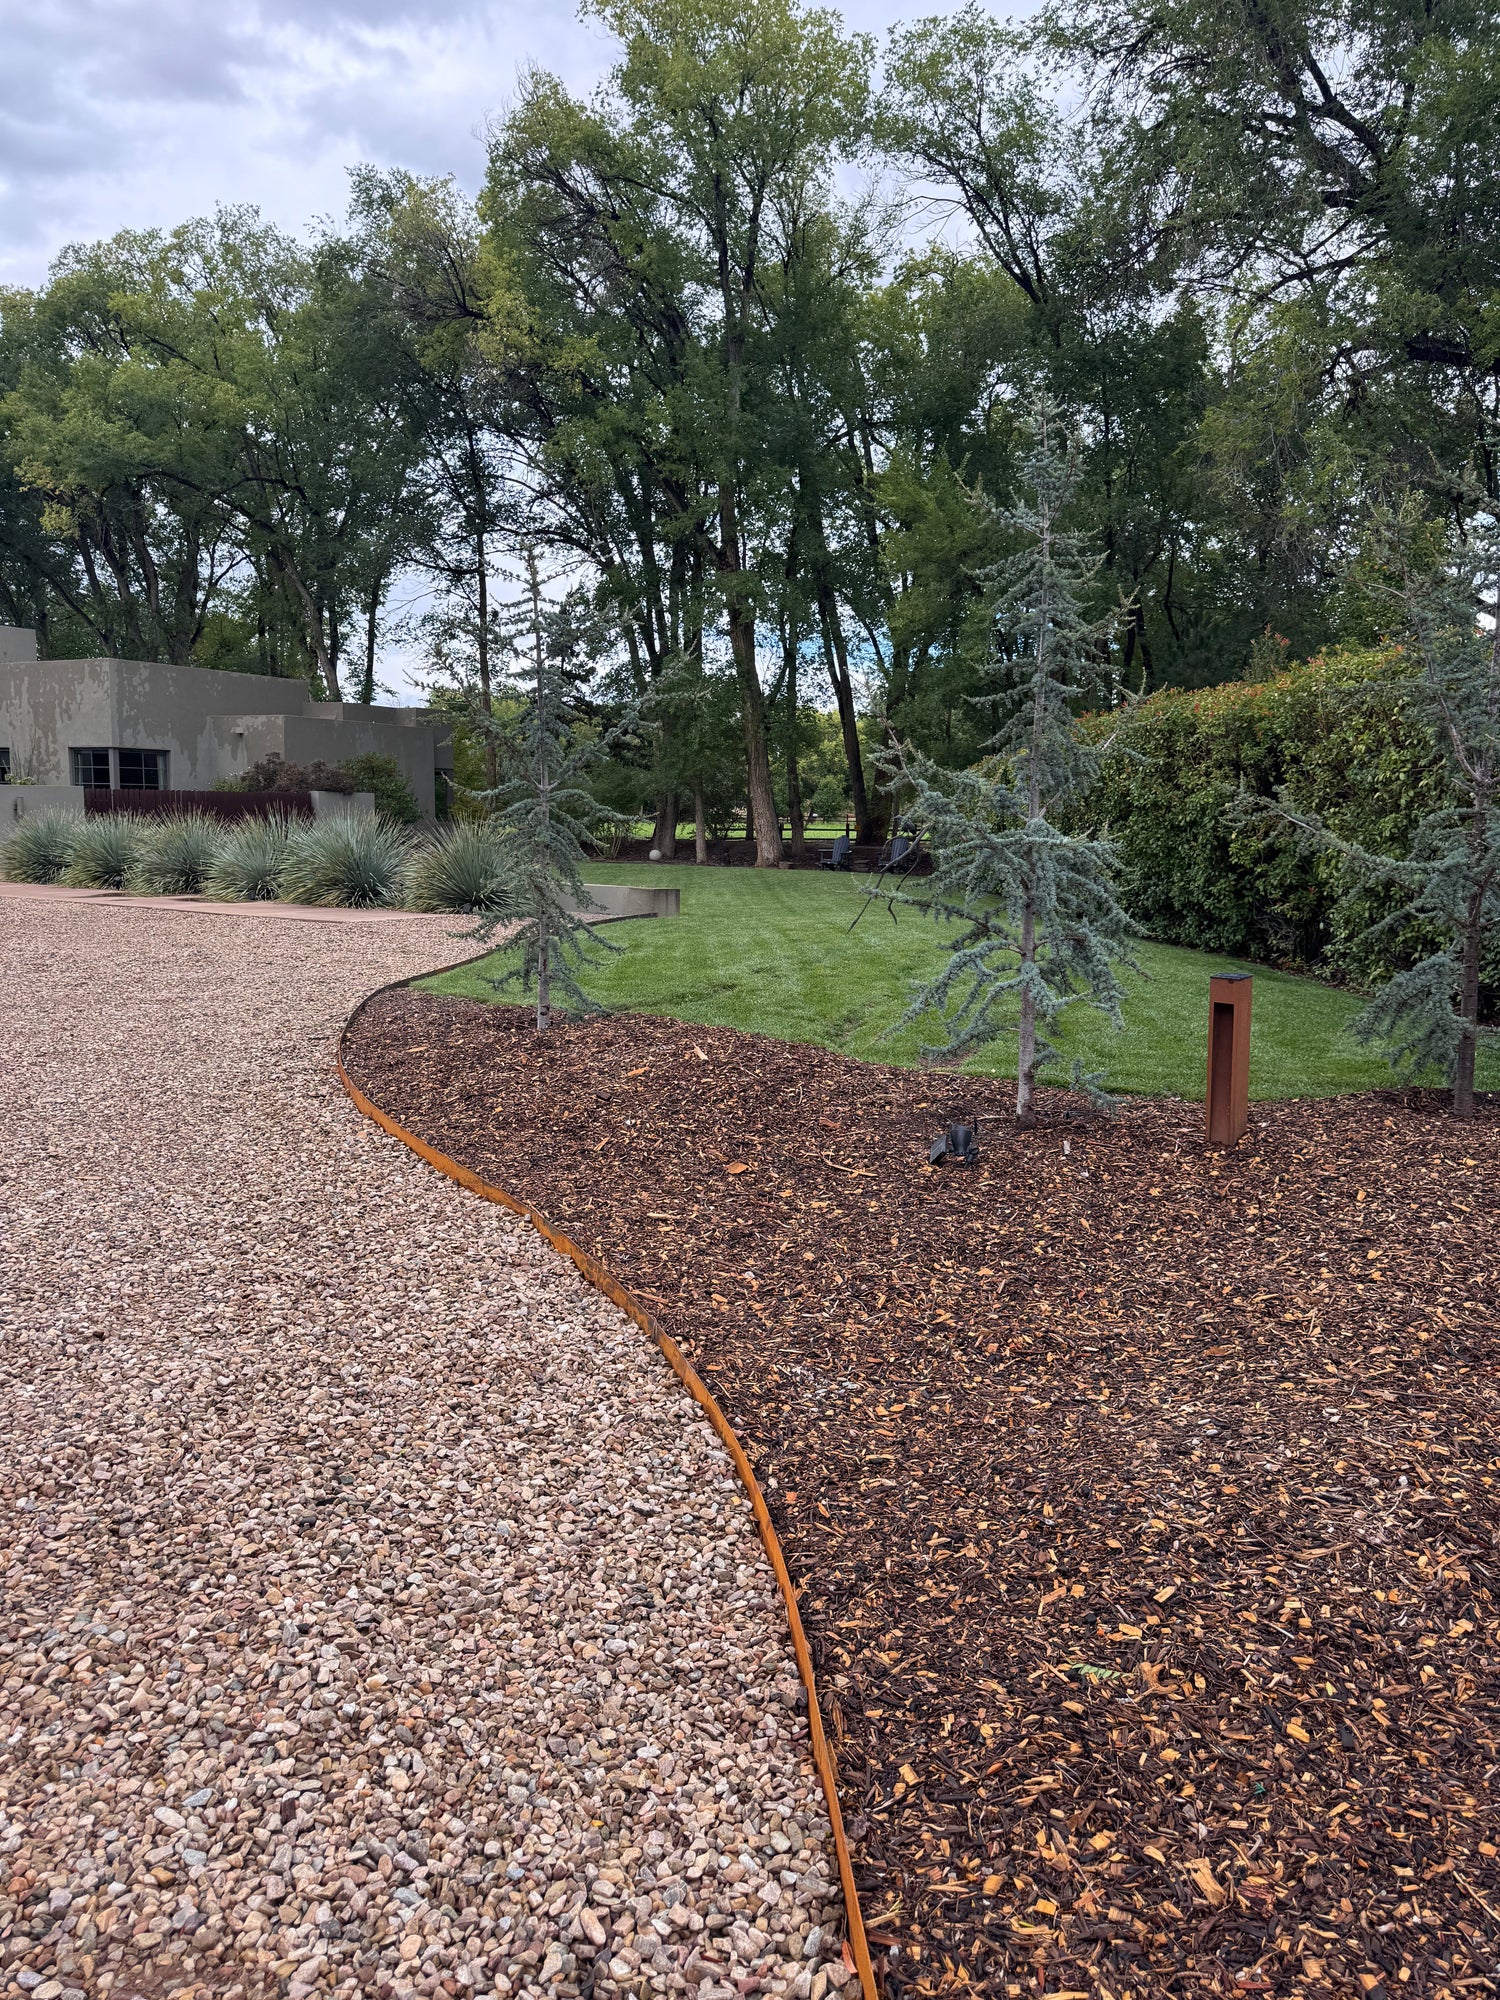
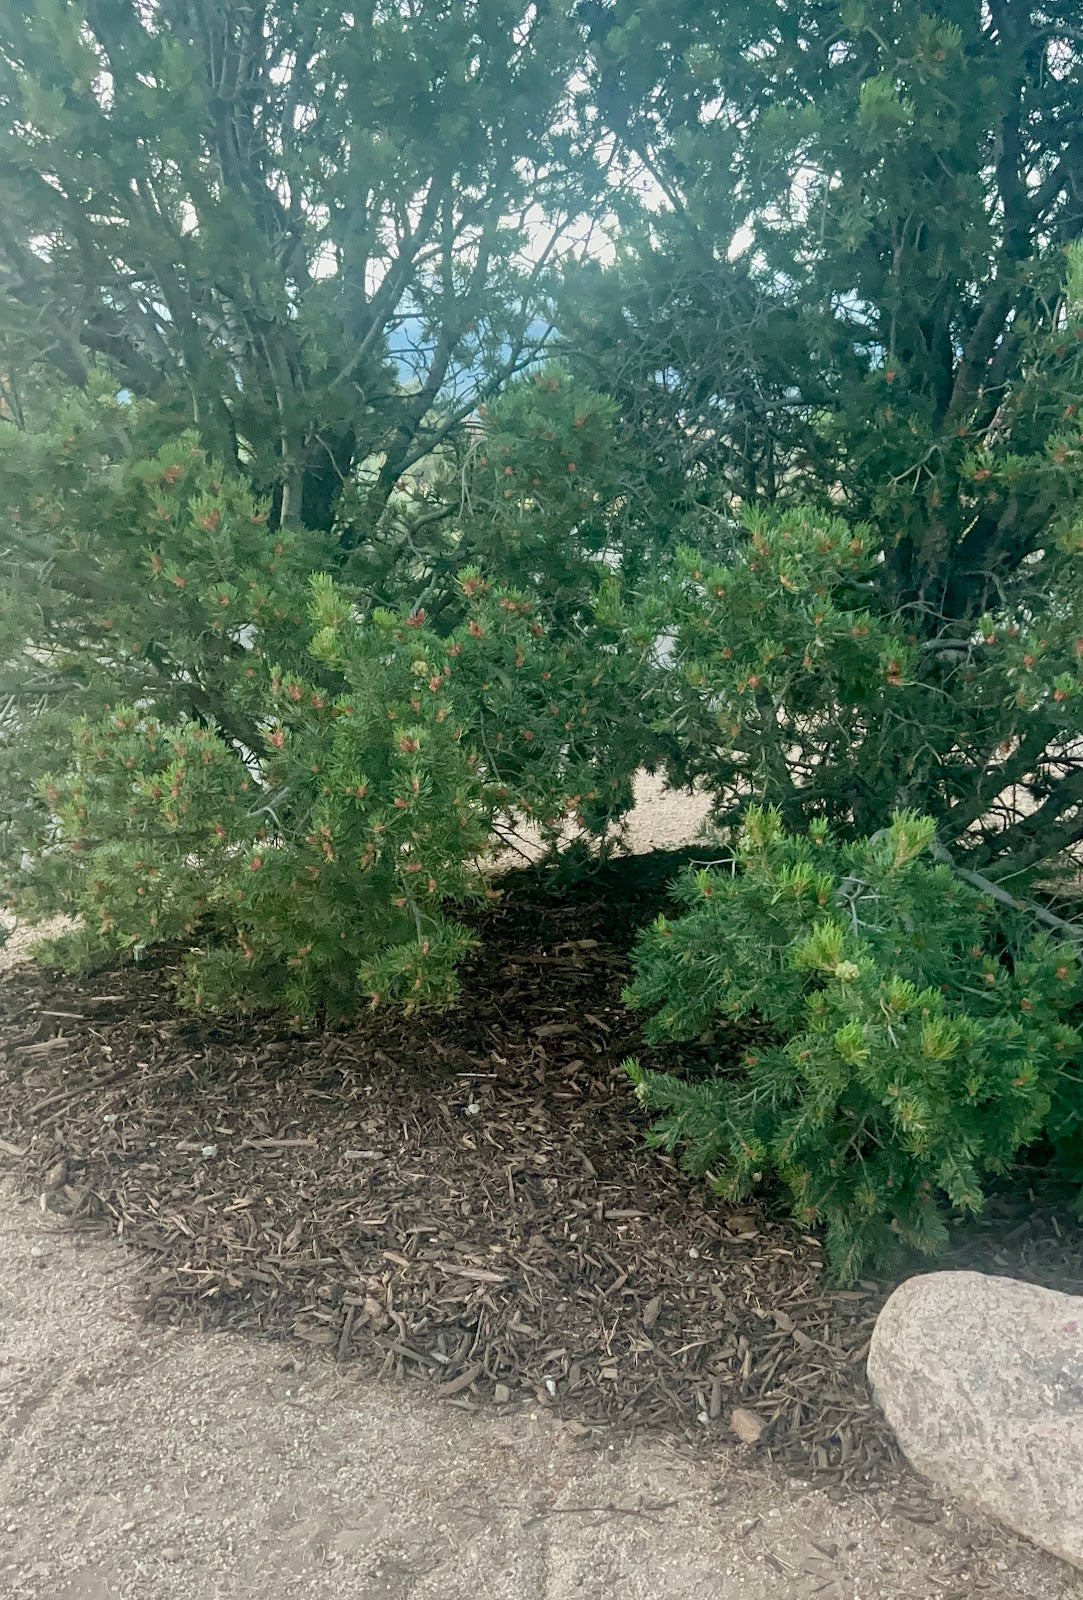
Once you’ve planted your garden, bed in your plants with a protective top layer of mulch. We cannot stress enough the importance of mulching plants and soil in our hot, arid environment! Living soil needs help trapping moisture in the high desert, and mulch is your best friend. Soilutions' Forest Floor mulch is a great choice as it contains 10% compost to help keep your soil full of living organic matter all season long!
Happy growing!


